Your favourite feeding top is in the wash. The comfortable bra is still drying. There is a small mark on the only shirt you planned to wear outside, and the laundry basket seems to have acquired an entirely new job since your baby arrived.
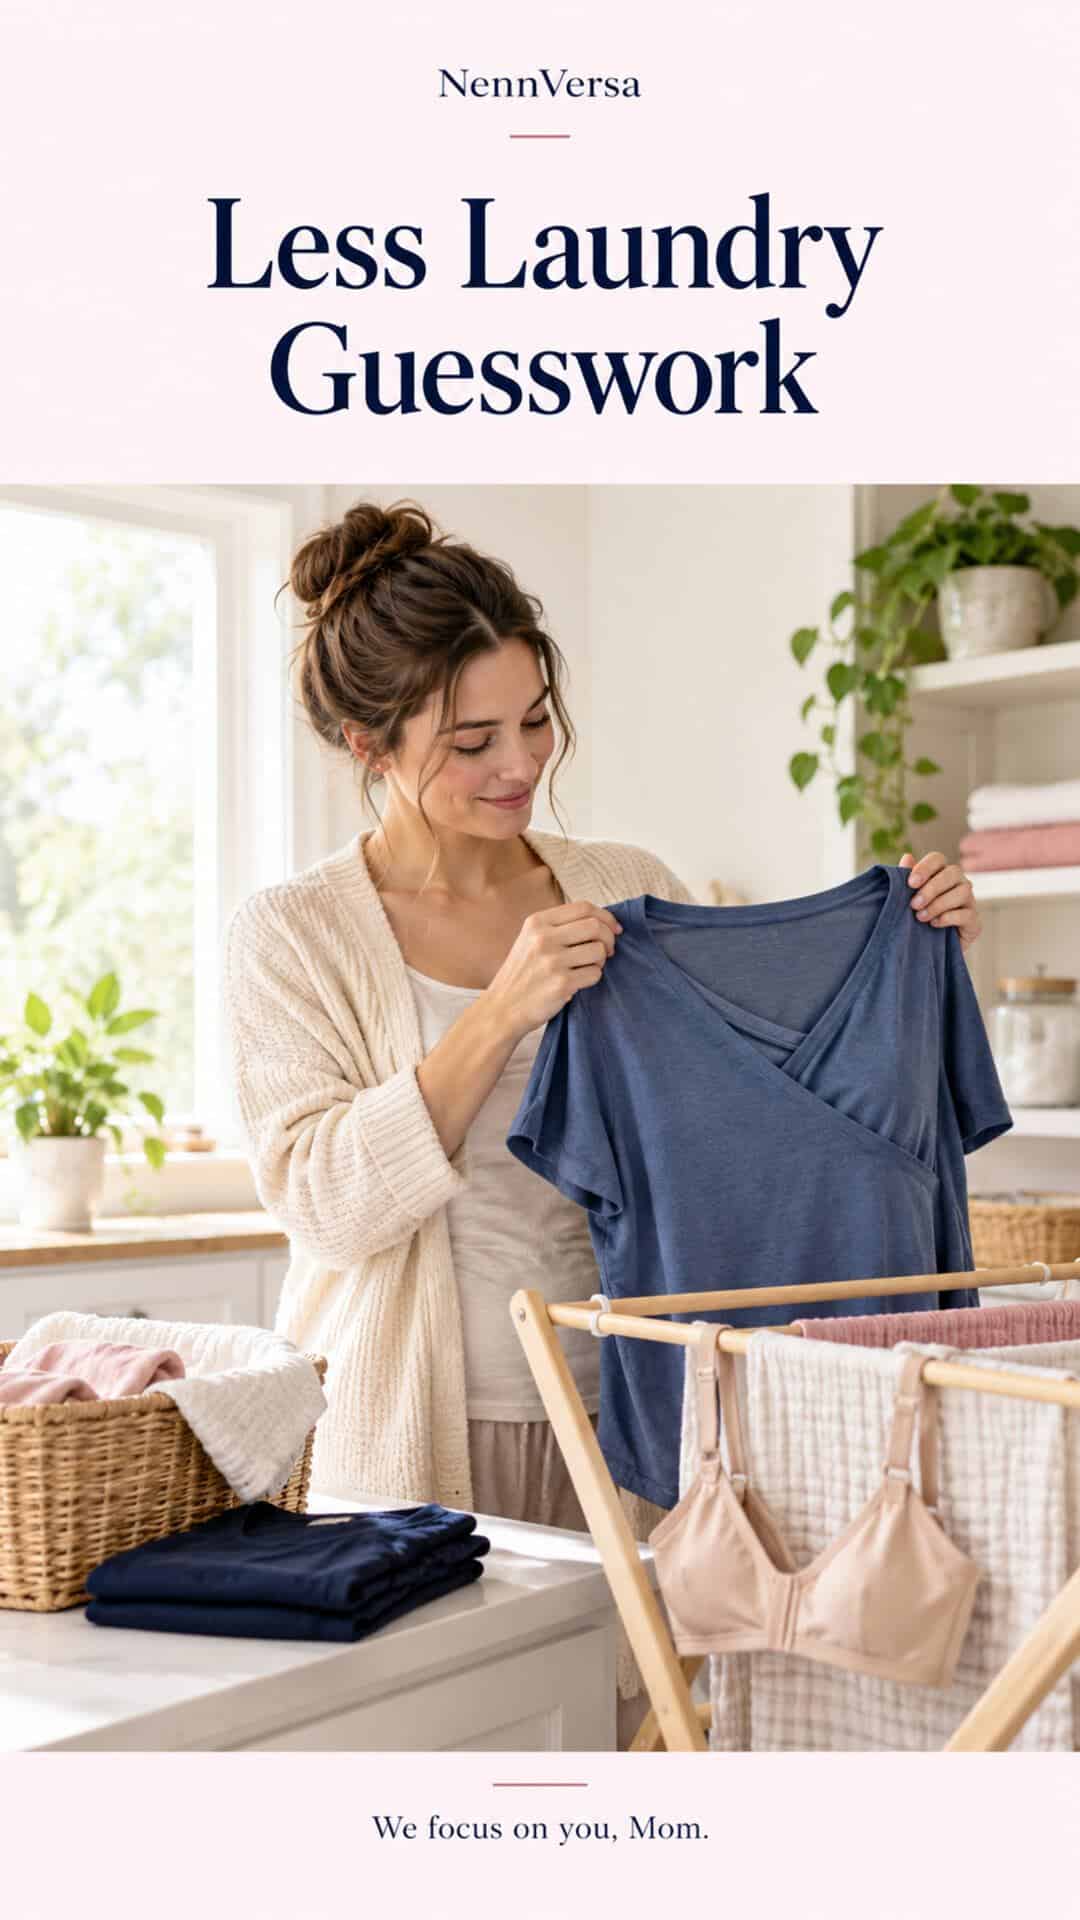
You do not necessarily need more clothes. You may need a clearer route from “needs washing” back to “ready to wear,” plus enough practical pieces to cover that route.
Read the care label first, treat a stain with a method suitable for that garment, and count drying time when planning your clothing rotation. Milk marks, delicate bras, and reusable breast pads do not all belong under one universal washing rule.
Start with the item, not the stain-removal trend
A cotton shirt, a wool cardigan, and a bra with elastic and moulded cups may need different treatment. Before adding water or a product, read both the garment label and the cleaner’s instructions.
GINETEX’s care-symbol guidance explains that a wash-tub temperature is a maximum, and that bars beneath it indicate a gentler washing process. Drying instructions are a separate decision. A piece being washable does not automatically mean it can go into the tumble dryer.
If the label is missing, check the brand’s care information for the exact item. For a valuable or delicate garment, ask a professional cleaner rather than experimenting with a method intended for a washable everyday tee.
Use a careful first response to milk and spit-up marks
For a washable garment, gently remove any excess without spreading it farther. Check whether the fabric permits rinsing, then use a suitable cold-water rinse as an initial step. Avoid vigorous rubbing on a delicate surface.
Tide’s milk-stain guidance recommends blotting fresh milk, rinsing with cold water, pretreating, and washing according to the care label. It also advises checking before tumble drying because drying can set a remaining stain. This is general milk-stain guidance, not a guarantee that every breast-milk or spit-up mark will disappear.
Spit-up may contain more than milk, and an older stain may need a different approach from a fresh one. Choose a product whose label covers the fabric and stain, test it on a hidden area where advised, and follow its specified contact time. Do not extend a soak simply because more time sounds more effective.
Make the next decision from the care label
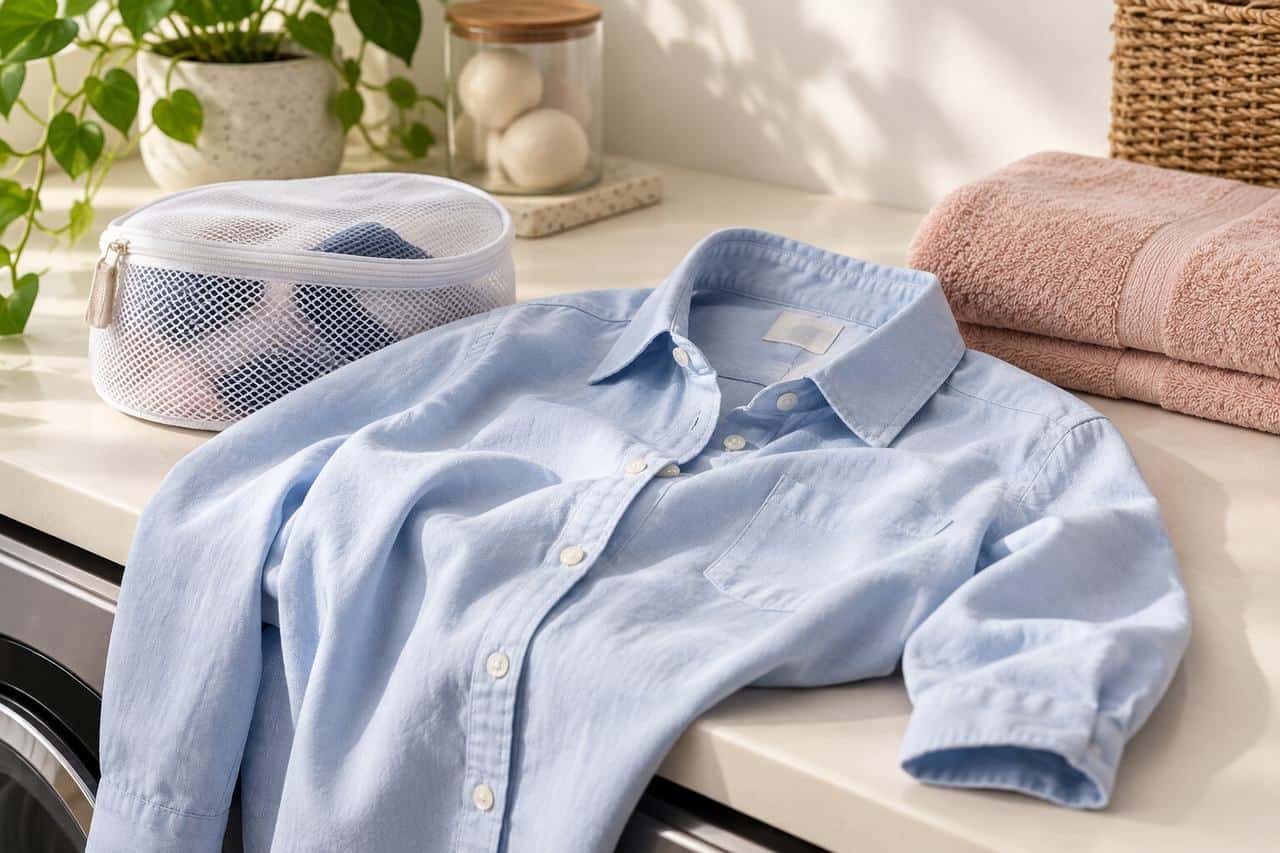
| What you find | What to do next |
|---|---|
| The garment permits ordinary washing. | Use a compatible pretreatment if needed, then the labelled wash process. |
| The garment requires hand washing or a very gentle process. | Follow that restriction; a stain does not cancel it. |
| The label prohibits washing or the fabric is uncertain. | Seek the manufacturer’s or a cleaner’s advice before wet treatment. |
| The mark remains after washing. | Check a suitable next treatment before using a dryer. Avoid repeatedly applying stronger products at random. |
| The item is clean but still damp. | Let it finish drying as directed before returning it to the ready-to-wear pile. |
Stain removal and cleaning are related but different goals. A visible mark remaining does not tell you everything about cleanliness, and a mark disappearing does not prove an item has received the care it requires.
Avoid turning a small stain into fabric damage
Do not assume a household mixture is gentler because its ingredients are familiar. Follow a named product’s instructions and do not mix cleaning products together. Keep them stored where children cannot reach them.
Bleach permissions, colourfastness, embellishments, and fabric blends matter. “White” is not a sufficient reason to use bleach. A pale top may contain elastic, coloured stitching, or trim that needs different treatment.
If you use a spot-treatment product away from home, make sure it is suitable for the garment and follow any instructions about rinsing before wear. Packing a compatible spare can be simpler than trying to complete a stain-removal project in a public bathroom.
Give nursing and pumping bras their own care notes
Follow the exact bra’s washing and drying instructions. Some bras allow machine washing in a mesh bag; others require hand washing. A bag can contain straps and fastenings, but it does not override a hand-wash label or make an unsuitable cycle safe.
Note any directions about closing hooks, removing pads, reshaping cups, or drying flat. Keep detachable pieces together in the way the manufacturer recommends. Avoid hanging a heavy, wet bra by a single strap if that conflicts with its care instructions.

When dry, inspect the practical parts: do clips close, do seams feel intact, and has the fit changed? A bra that is clean but no longer works comfortably is not a reliable spare. If you use it to support pumping equipment, check that it still meets the equipment and bra instructions.
Treat reusable breast pads as their own product
Reusable pads vary in construction. Read their instructions for first-use preparation, washing temperature, detergent restrictions, and drying. Do not transfer care instructions from one brand or material to every pad you own.
For example, Medela’s Safe & Dry washable pads specify a 30°C wash, no fabric conditioner, and complete drying before wear. Those are instructions for that particular product, not a universal pad-care recipe.
The HSE’s breastfeeding hygiene guidance advises changing breast pads often or when wet. Keep clean replacements accessible rather than trying to stretch a rotation by continuing to wear a wet pair.
Count individual pads and pairs accurately when you plan your supply. A pack containing six individual pads provides three pairs if you use one on each side.
Keep clothing laundry separate from equipment cleaning
A clothes-washing routine is not a pump-care routine. Do not apply laundry stain removers to pump parts or put equipment into a clothing wash because the items were used at the same time.
Use your pump manufacturer’s directions and the CDC’s pump-cleaning guidance for equipment. Give cleaned equipment its own appropriate drying and storage area, separate from soiled clothes and laundry products.
For clothing away from home, keep a spare separate from used or wet items. Empty the used-clothing pouch when you return, and clean the pouch according to its own instructions. A bag that catches a leak still needs to be included in your routine.
Count the days until an item is wearable again
The washing-machine cycle is only part of the wait. There may be a day before the next load, time on the drying rack, and a delay before the item returns to your drawer.
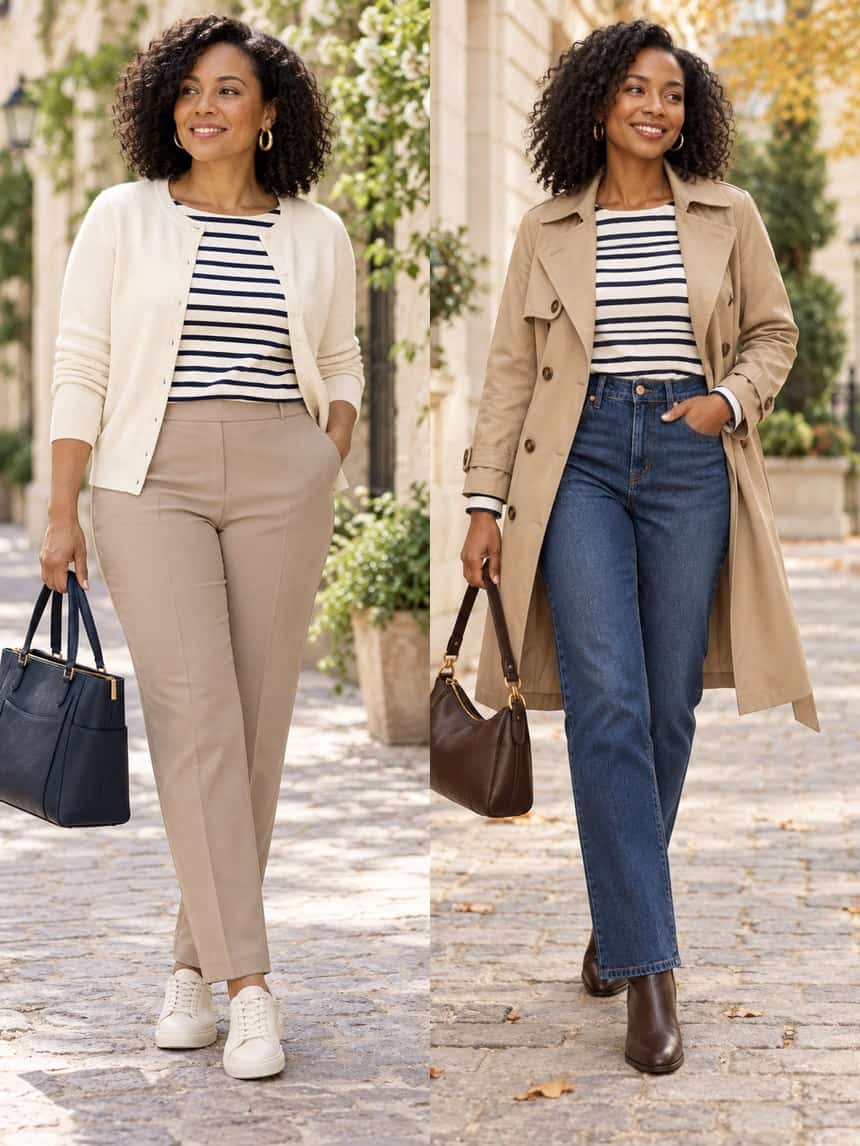
From the capsules
The Year Round Capsule
Two hundred nursing-friendly outfits from fifty-six pieces, fifty for every season, laid out and then worn. $29 once, yours to keep.
For planning, use this simple estimate: items you actually use per day × days until washed items are clean and fully dry, plus a small buffer. It is a wardrobe estimate, not a hygiene rule or an instruction to delay changing a soiled item.
For example, if you generally use two feeding tops a day and clothes take three days to return to use, six tops cover that ordinary interval. One or two additional suitable tops may cover a disrupted wash day. Existing shirts count; you do not need eight identical nursing tops.
Make a separate estimate for pads and bras based on your actual changes and their drying times. Reassess after a week instead of treating the first number as a permanent shopping requirement.
Build a small laundry handoff
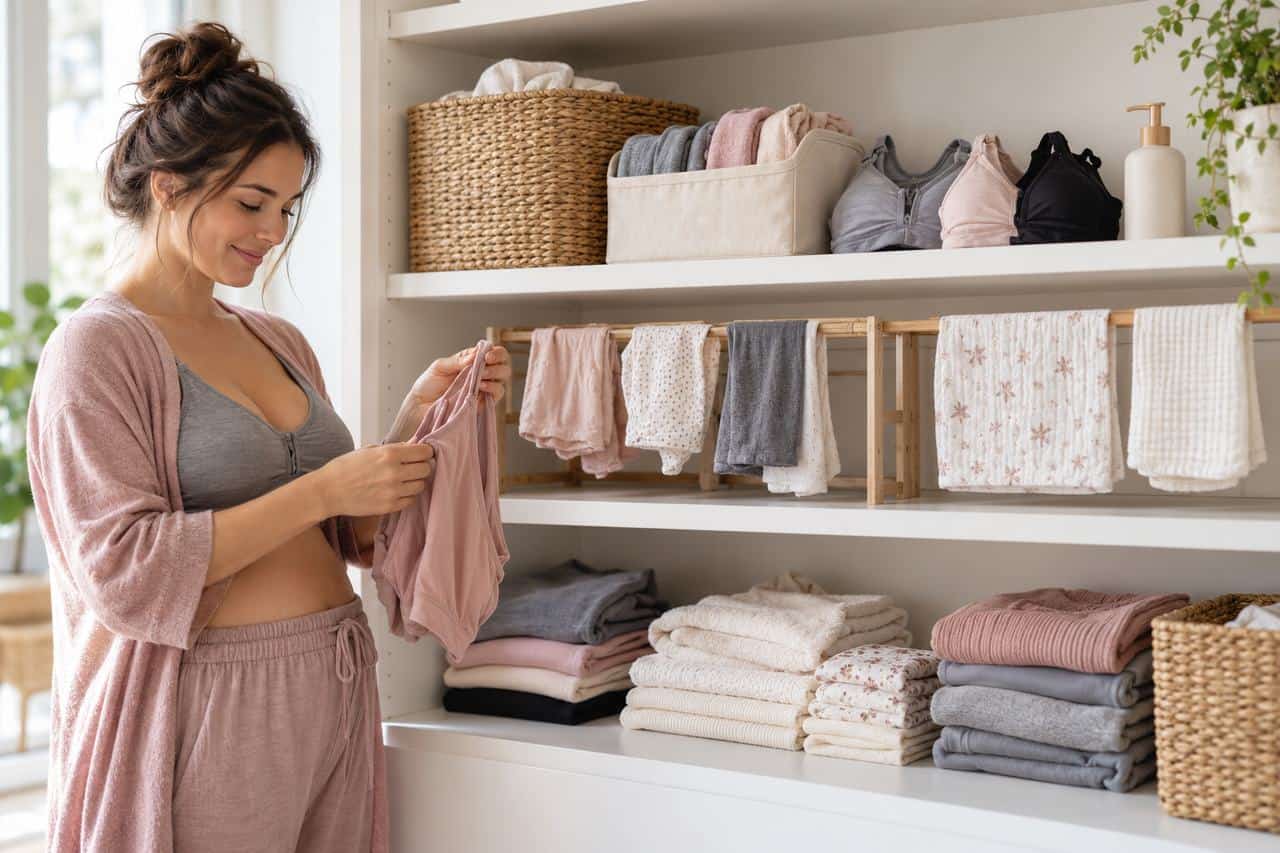
Put a short note near the laundry area: which pieces need special care, where they dry, and where the ready-to-wear items belong. This makes it easier for someone else to complete the job without having to ask about every garment.
Try three clear destinations: needs care, drying, and ready. They can be shelves or baskets you already own. Keep anything still damp out of the ready pile so you do not discover the problem while getting dressed.
When clean clothes pile up, prioritise putting away the pieces you need tomorrow. Perfect folding is optional. Knowing where the dry bra and accessible top are is useful.
Common questions
Should every nursing garment be washed hot?
No single temperature suits every garment. Follow its label and product-specific guidance. A stain or a nursing label does not make delicate fabric suitable for a hotter process.
Can I use fabric conditioner on reusable breast pads?
Check the exact pad’s instructions. Some manufacturers prohibit it. Do not assume the directions for your towels or ordinary clothing also apply to absorbent pads.
How many nursing tops do I need?
Start with your observed changes and the full wash-and-dry interval. Count existing accessible tops before buying. A reliable laundry routine and a useful spare may solve the gap more effectively than a large order.
The Nursing Mama Fashion Commandments
Twelve rules I wish someone had told me postpartum. Print them. Screenshot them. Live by them.
- Nursing bra always. Regular bras become instruments of pain the day letdown surprises you.
- Nursing pads on your body + a spare pair in your bag. Every single time you leave the house. No exceptions.
- Extra top in your bag — for YOU, not the baby. Because leaks, spit-up, and coffee-spills don’t care about your outfit plan.
- If it takes more than 5 minutes to figure out how to nurse or pump in it, it’s not the right outfit today. Feeding access is comfort. Comfort is not optional.
- Belt under the bust (empire) or below the belly with drape — never at the belly button. Your postpartum body deserves flattery, not compression.
- Comfortable waistband is non-negotiable. Elastic, wrap, or pull-on. Zippers are a Sunday-only luxury for now.
- Dark tones, prints, or textures — not thin light solids. Because letdown marks are real and you deserve clothes that don’t advertise them.
- Machine-washable everything. Dry-clean is not real-mama fashion. If it can’t survive a spit-up rinse, it’s not in rotation.
- Cross-body bag only. Hands stay free for the carrier, the toddler, the coffee, the door, the meltdown.
- Comfortable shoes always. You’re carrying a car seat and a diaper bag. This is not the season for a heel you can’t run in.
- Get dressed BEFORE the kids see you if you can. It changes the whole day — for them and for you.
- One accessory — earrings, a lip color, a scarf — counts as “put together.” That’s the whole game. You get to feel like yourself again.
Make clean clothes easier to reach
Choose one small improvement: write the bra-care instructions down, replenish the pad supply, or put tomorrow’s clean outfit together. A workable wardrobe depends on care as much as on styling.
When you want help building repeatable combinations from the pieces you can actually maintain, explore The NennVersa Atelier. Getting dressed should fit your household’s real capacity.