A top can be called easy-access and still take more effort than you expected. The button is slippery, the zip is hard to reach, or the wrap tie needs two hands to restore. The opening works in theory, but the complete sequence does not feel simple.
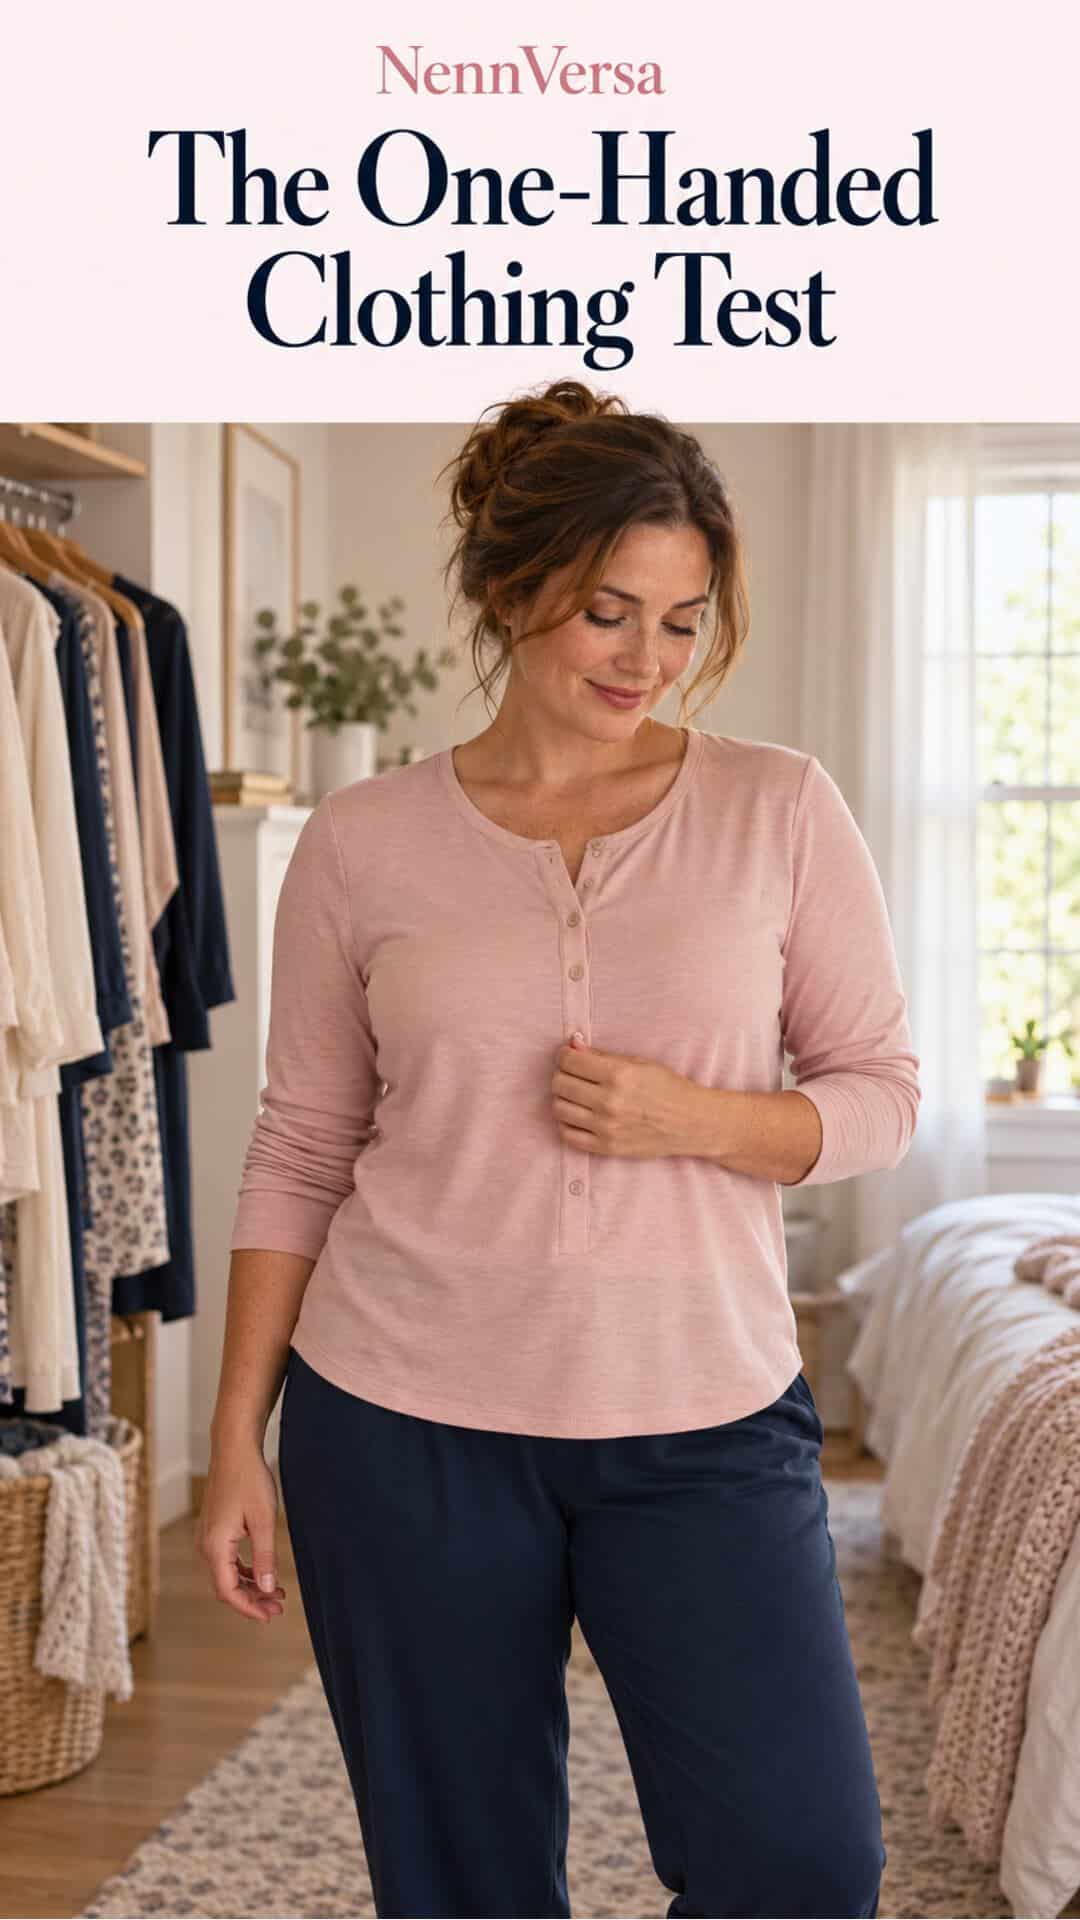
The one-handed clothing test is a way to learn about a garment before you rely on it. It is not a challenge to prove you can do everything while holding your baby. Two-handed access, a different outfit or help from someone else may be the better choice.
Practise the clothing movements without your baby in your arms, in a comfortable position. The useful result is a clear note about what works for you, not a speed score.
Test the whole sequence, not just the opening
Many fastenings are easier to open than to close. A nursing clip may release quickly but need a careful alignment to reconnect. A button may slip out of its hole easily and be difficult to guide back through.
Use the same sequence for each candidate: find the fastening, open it, move the outer fabric, reach the underlayer, then restore and close everything. Repeat on the other side where relevant.
Note the difficult stage. “Reconnecting the clip is awkward” gives you a more useful decision than “clips are bad.” You may prefer a different clip shape or location rather than abandoning the whole category.
Set up a realistic, low-pressure trial
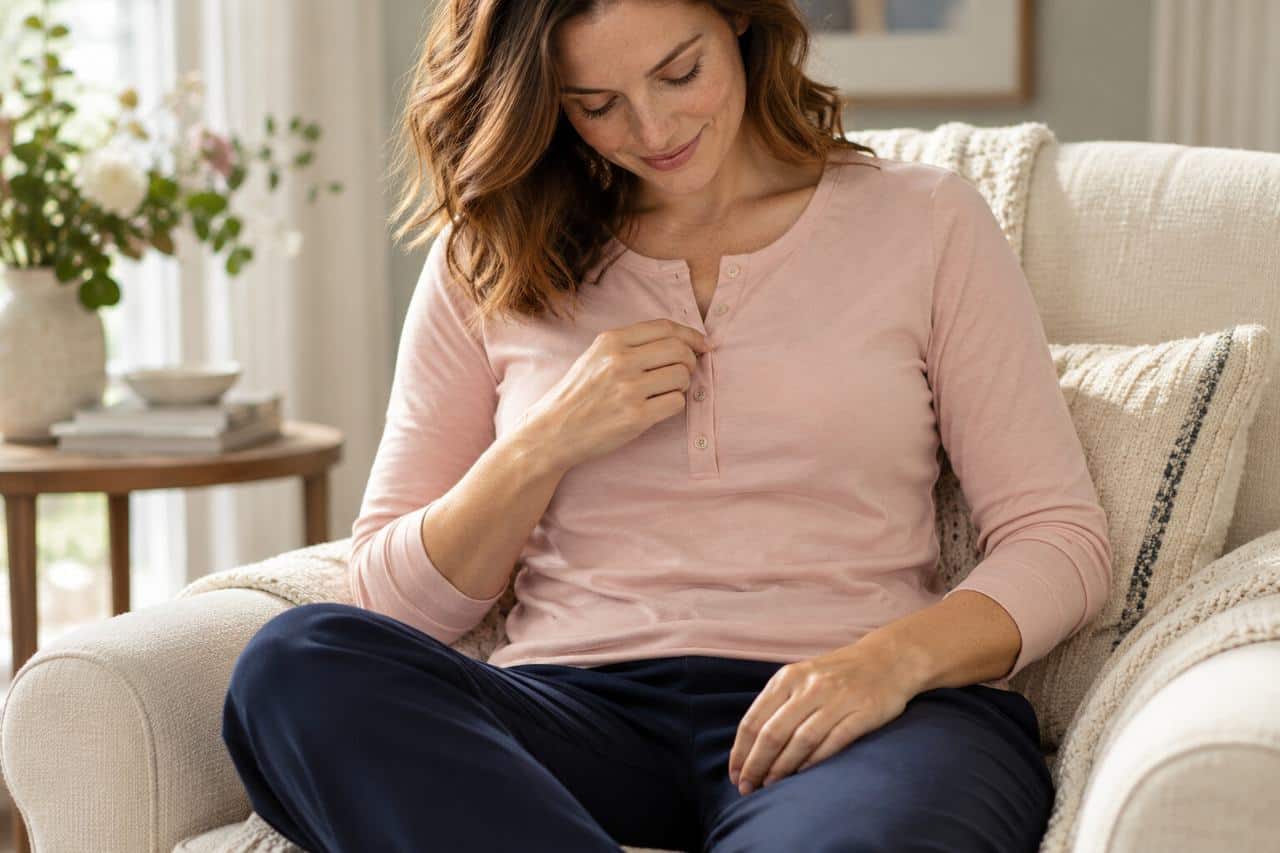
Wear the actual bra or tank and the bottom you would pair with the top. Sit in an ordinary chair with your feet supported. Begin with both hands if you need to understand the construction, then see which steps you can comfortably manage with one.
Try each hand separately if that is useful to your routine. Your preferred hand may find one side easier than the other. There is no need to force an awkward movement or repeat a painful one.
Include sleeves and outer layers. A loose cuff can get in the way of a small clip, and a cardigan can add another panel to move. Test the outfit you will actually wear rather than the easiest possible version of the top.
Compare the fastenings by the movements they require
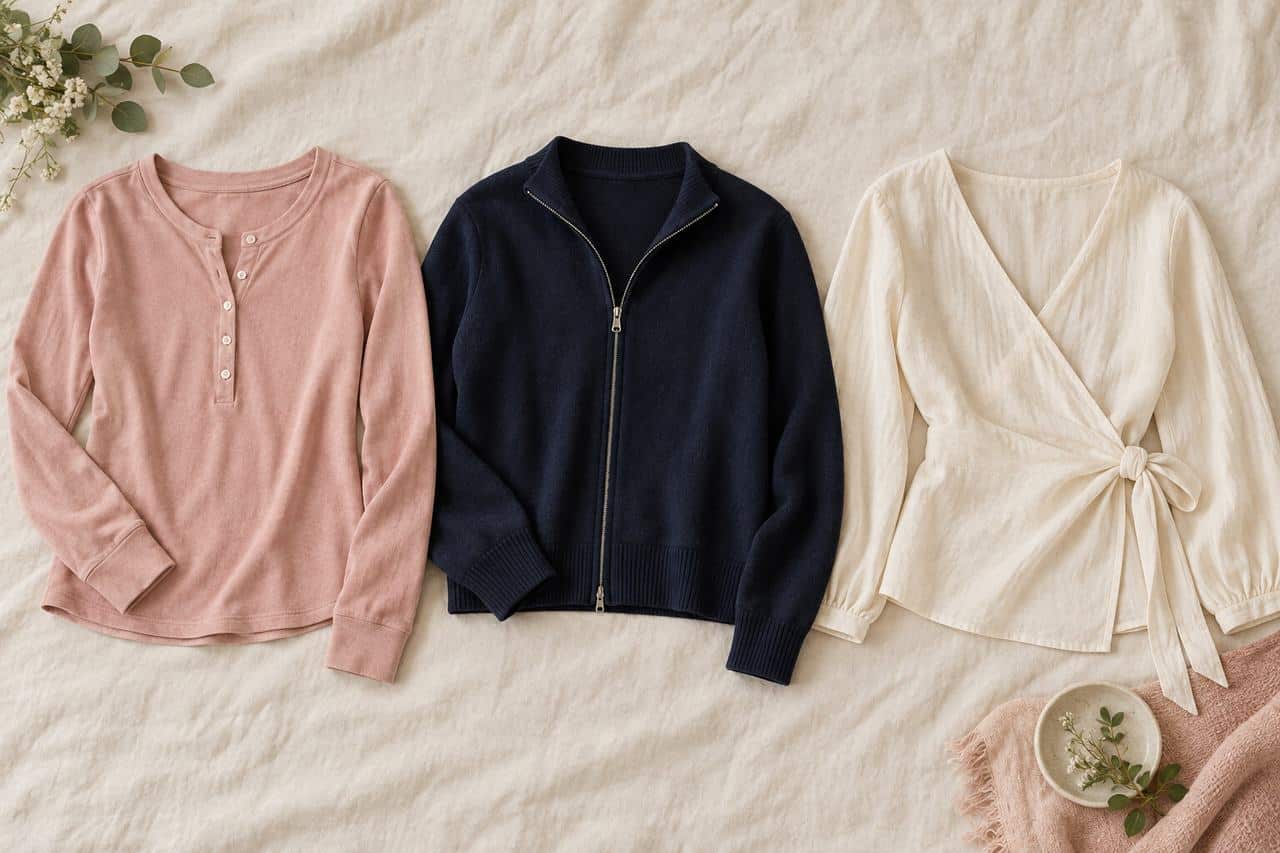
| Opening | Movement to try | Often-overlooked step |
|---|---|---|
| Buttons | Grip the button and guide it through the hole | Closing several buttons again |
| Zip | Find and move the pull while controlling the fabric | Keeping fabric clear and reaching the end of the opening |
| Nursing clip | Release the cup connection | Finding and reconnecting the two parts |
| True wrap | Move the overlap or release the tie | Restoring the overlap and fastening |
| Liftable top | Gather and lift the fabric | Keeping it out of the way, then settling it again |
| Designed access panel | Locate and move the intended layer | Managing the inner opening as well as the outer panel |
No row is automatically the winner. Placement, size, fabric resistance and your own movement preferences can change the experience within the same fastening category.
Buttons: check grip, spacing and quantity
A larger button may be easier for you to find and hold, but its buttonhole still matters. A stiff hole, slippery surface or tightly stretched placket can make the action difficult. Try the actual item.
Count how many buttons you need to open for useful access, rather than judging how quickly the first one releases. Check whether the placket opens far enough and whether a lining stays closed underneath.
Then button it again while seated. If the shirt is already pulling across the bust, the problem may include fit as well as dexterity. More comfortable room or a different cut may help more than changing the button itself.
Zips: check reach and fabric control
A front or side zip can provide a long opening, but you need to reach its pull and move it through the required distance. A tiny concealed pull may be difficult to locate without looking.

Check whether you need one hand to steady the garment while the other moves the zip. Notice if fabric catches, the opening twists or the zip ends somewhere awkward. A fastening that is easy on the hanger can behave differently when you are wearing it.
If a zip aid might help, ask about a suitable option for that garment. Avoid improvising additions that make the fastening less secure or interfere with the outfit. A different opening is also a reasonable solution.
Nursing clips: opening and reconnecting are separate checks
Try the clip with the intended outer top. Can you reach it through the garment opening? Once released, does the cup move where you need it, or does another panel remain in the way?
When you reconnect it, check whether you can locate both parts and confirm that they have fastened. Include any pad adjustment you normally need. Those small restoration steps can determine whether a bra feels convenient in daily use.
Do not alter straps or clips on a nursing or pumping bra simply to pass this test. Its construction also affects fit and, where relevant, equipment support. Try another compatible design if the fastening is consistently difficult.
Wraps: distinguish moving the fabric from retying it
A true wrap may let you move the overlap without fully undoing the tie, or it may require a larger adjustment. A wrap-look garment sewn closed is different. Inspect the actual construction before deciding it offers access.
Check seated coverage, the amount of fabric you need to move and how the tie sits afterwards. If restoring the wrap requires two hands, record that plainly. You can still enjoy the garment when that sequence suits the occasion.
Long ties, a complicated knot or a slippery fabric may add work you do not want. Choose a simpler construction if you prefer, without assuming every wrap top is inherently easy.
Liftable tops: fewer fastenings can mean more fabric
A tee without buttons or clips removes one task, but you still need to lift and manage the material. Compare a lightweight separate top with a long, thick knit. Notice how much fabric gathers and where it settles.
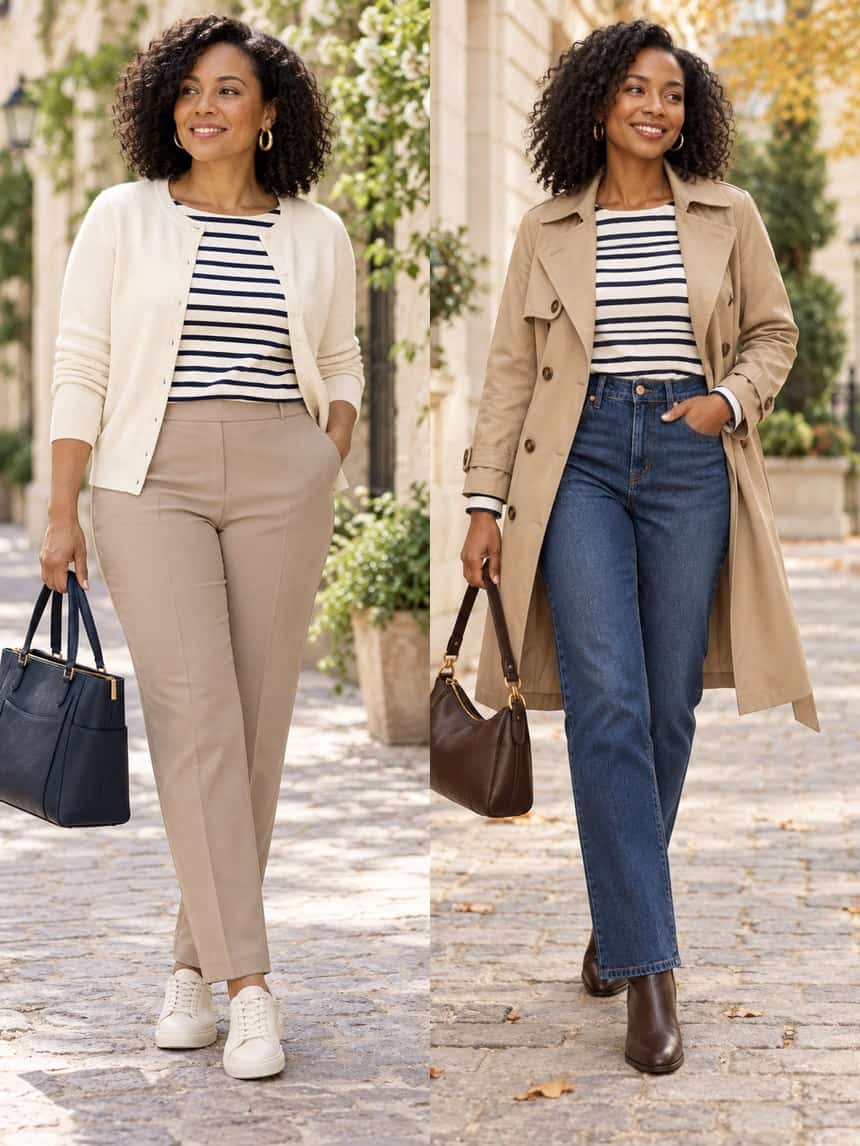
From the capsules
The Year Round Capsule
Two hundred nursing-friendly outfits from fifty-six pieces, fifty for every season, laid out and then worn. $29 once, yours to keep.
If you use a tank underneath, check that the layers move independently. The tank’s opening and bra access also belong in the test. A top that lifts easily can still create an awkward route through everything beneath it.
Practise with your hands free rather than holding fabric in your mouth or trying to demonstrate the sequence while balancing your baby. Choose a garment that gives you room to handle feeding comfortably.
Use three simple result categories
After the trial, give the combination one of these practical descriptions:
- Comfortable for my intended routine: the opening and reset feel manageable in the way I plan to use them.
- Works with a planned adjustment: it needs both hands, a different underlayer, an untucked hem or another specific change.
- Not useful for this situation: the sequence is uncomfortable, inaccessible or more work than I want.
A garment can move between categories for different occasions. A wrap dress may suit a relaxed visit and be a poor choice for a demanding workday. Your wardrobe does not need one access method for every setting.
Ask for help with the movement, not only the product
If pain, weakness or a disability affects dressing, individual support may be useful. Arthritis UK’s occupational-therapy guidance discusses clothing choices and dressing aids for people who find fastenings difficult. A relevant professional can help assess your particular tasks and needs.
You do not need a diagnosis to prefer simpler clothes. Equally, a shopping list should not replace support when dressing is painful. Explain which movement is difficult and when it happens, rather than assuming one advertised “easy” fastening will solve everything.
Questions moms often ask
Does nursing clothing need to work entirely one-handed?
No. The goal is a sequence that suits your routine. It is fine to use both hands, prepare the clothing before picking up your baby or choose help when needed.
Are zips easier than buttons?
Sometimes, for some people and garments. Reach, pull size, fabric control and closing the opening all matter. Compare the actual items.
Should I time myself?
No timer is needed. Notice effort, comfort, reach and how much adjustment the complete sequence requires. This is information gathering, not a performance test.
The Nursing Mama Fashion Commandments
Twelve rules I wish someone had told me postpartum. Print them. Screenshot them. Live by them.
- Nursing bra always. Regular bras become instruments of pain the day letdown surprises you.
- Nursing pads on your body + a spare pair in your bag. Every single time you leave the house. No exceptions.
- Extra top in your bag — for YOU, not the baby. Because leaks, spit-up, and coffee-spills don’t care about your outfit plan.
- If it takes more than 5 minutes to figure out how to nurse or pump in it, it’s not the right outfit today. Feeding access is comfort. Comfort is not optional.
- Belt under the bust (empire) or below the belly with drape — never at the belly button. Your postpartum body deserves flattery, not compression.
- Comfortable waistband is non-negotiable. Elastic, wrap, or pull-on. Zippers are a Sunday-only luxury for now.
- Dark tones, prints, or textures — not thin light solids. Because letdown marks are real and you deserve clothes that don’t advertise them.
- Machine-washable everything. Dry-clean is not real-mama fashion. If it can’t survive a spit-up rinse, it’s not in rotation.
- Cross-body bag only. Hands stay free for the carrier, the toddler, the coffee, the door, the meltdown.
- Comfortable shoes always. You’re carrying a car seat and a diaper bag. This is not the season for a heel you can’t run in.
- Get dressed BEFORE the kids see you if you can. It changes the whole day — for them and for you.
- One accessory — earrings, a lip color, a scarf — counts as “put together.” That’s the whole game. You get to feel like yourself again.
Keep a note of the combination that works
Record the top, underlayer and one useful observation: “Front opening works seated,” or “Needs two hands to reconnect; choose for quieter days.” That makes the next outfit decision easier.
For help building more combinations around your own access preferences, explore NennVersa and The NennVersa Atelier. Getting dressed should accommodate you, including the way you move.