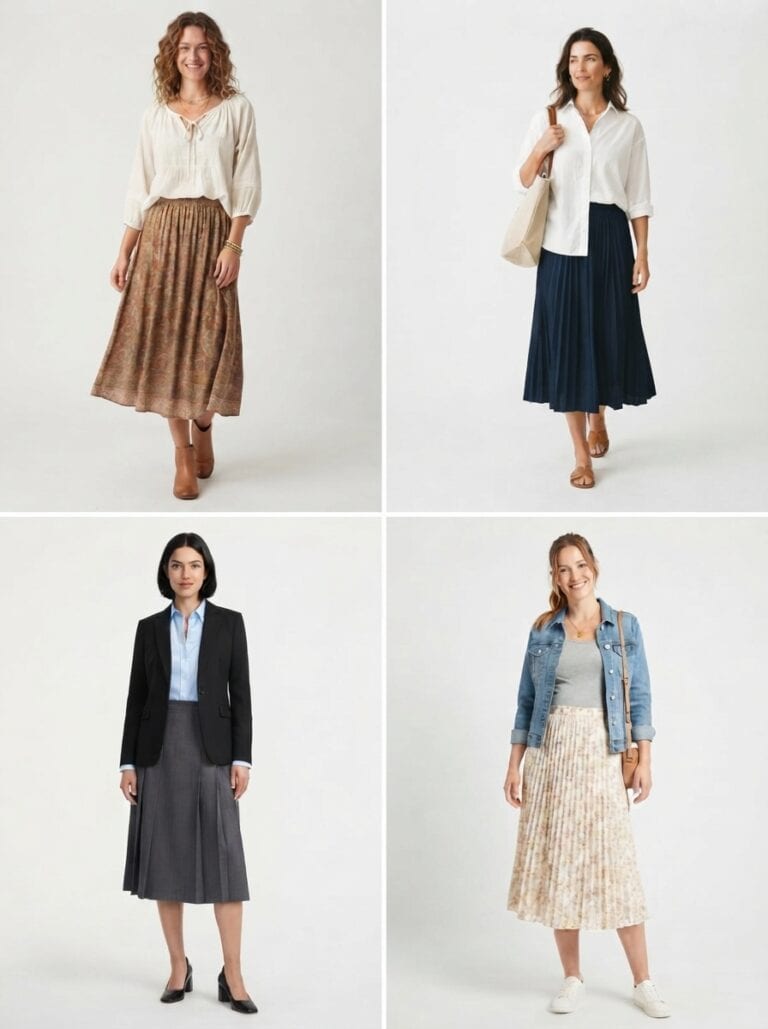
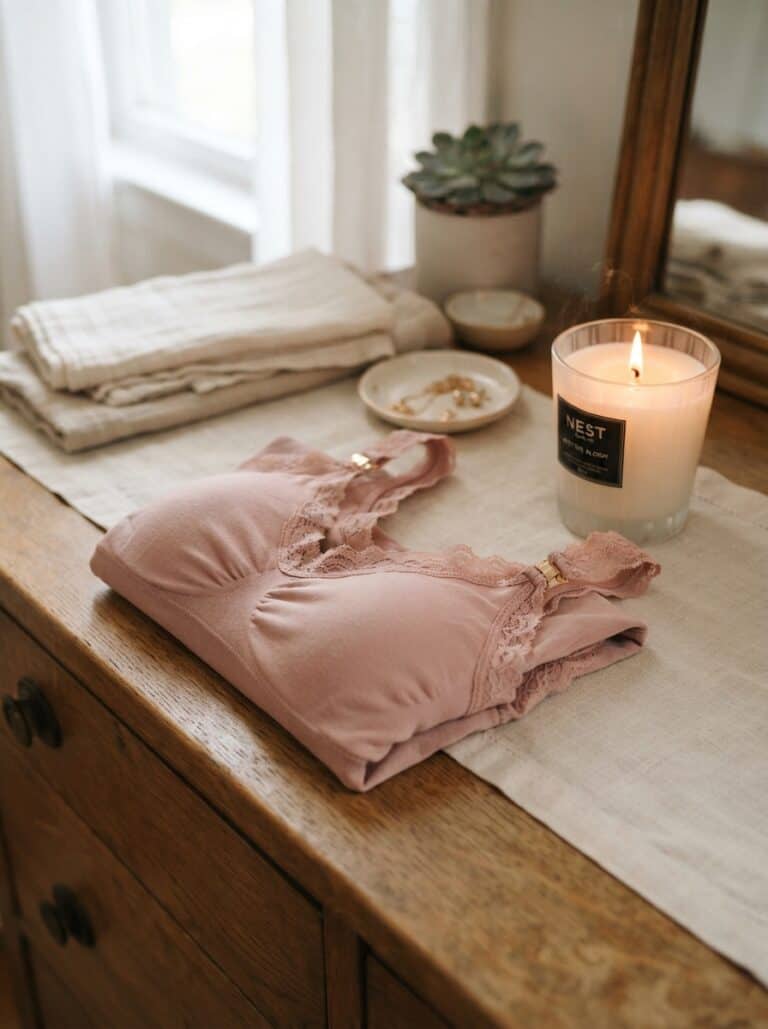
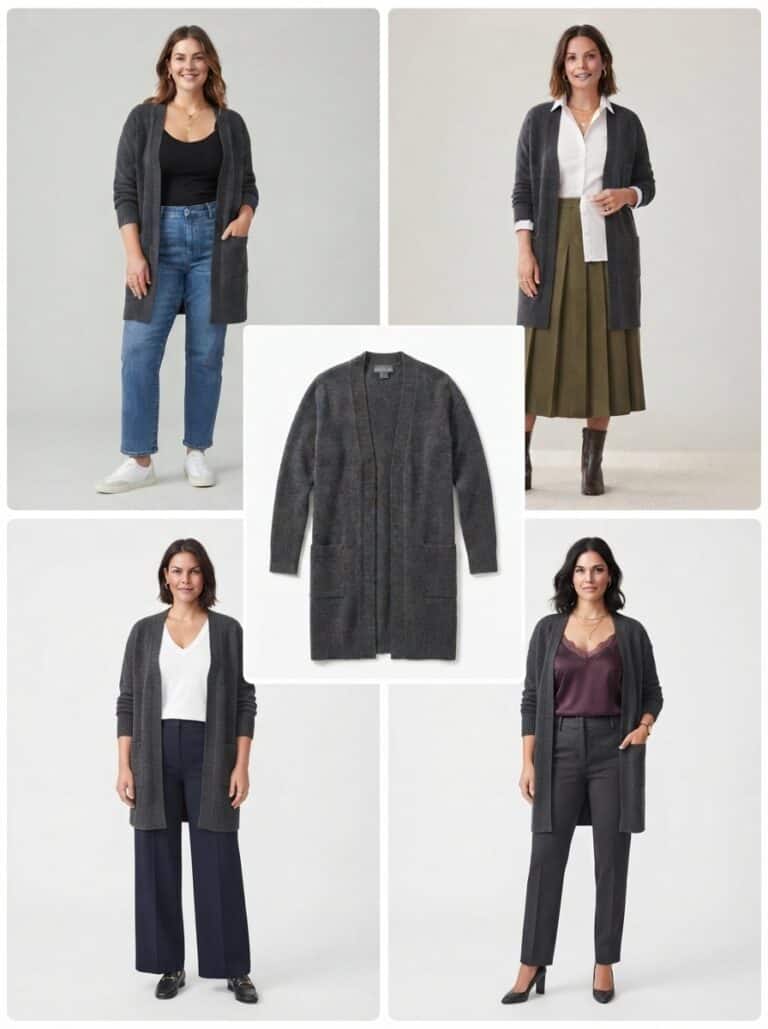
Make the clothes that fit your body, your feeding needs, and your
actual day easier to find.
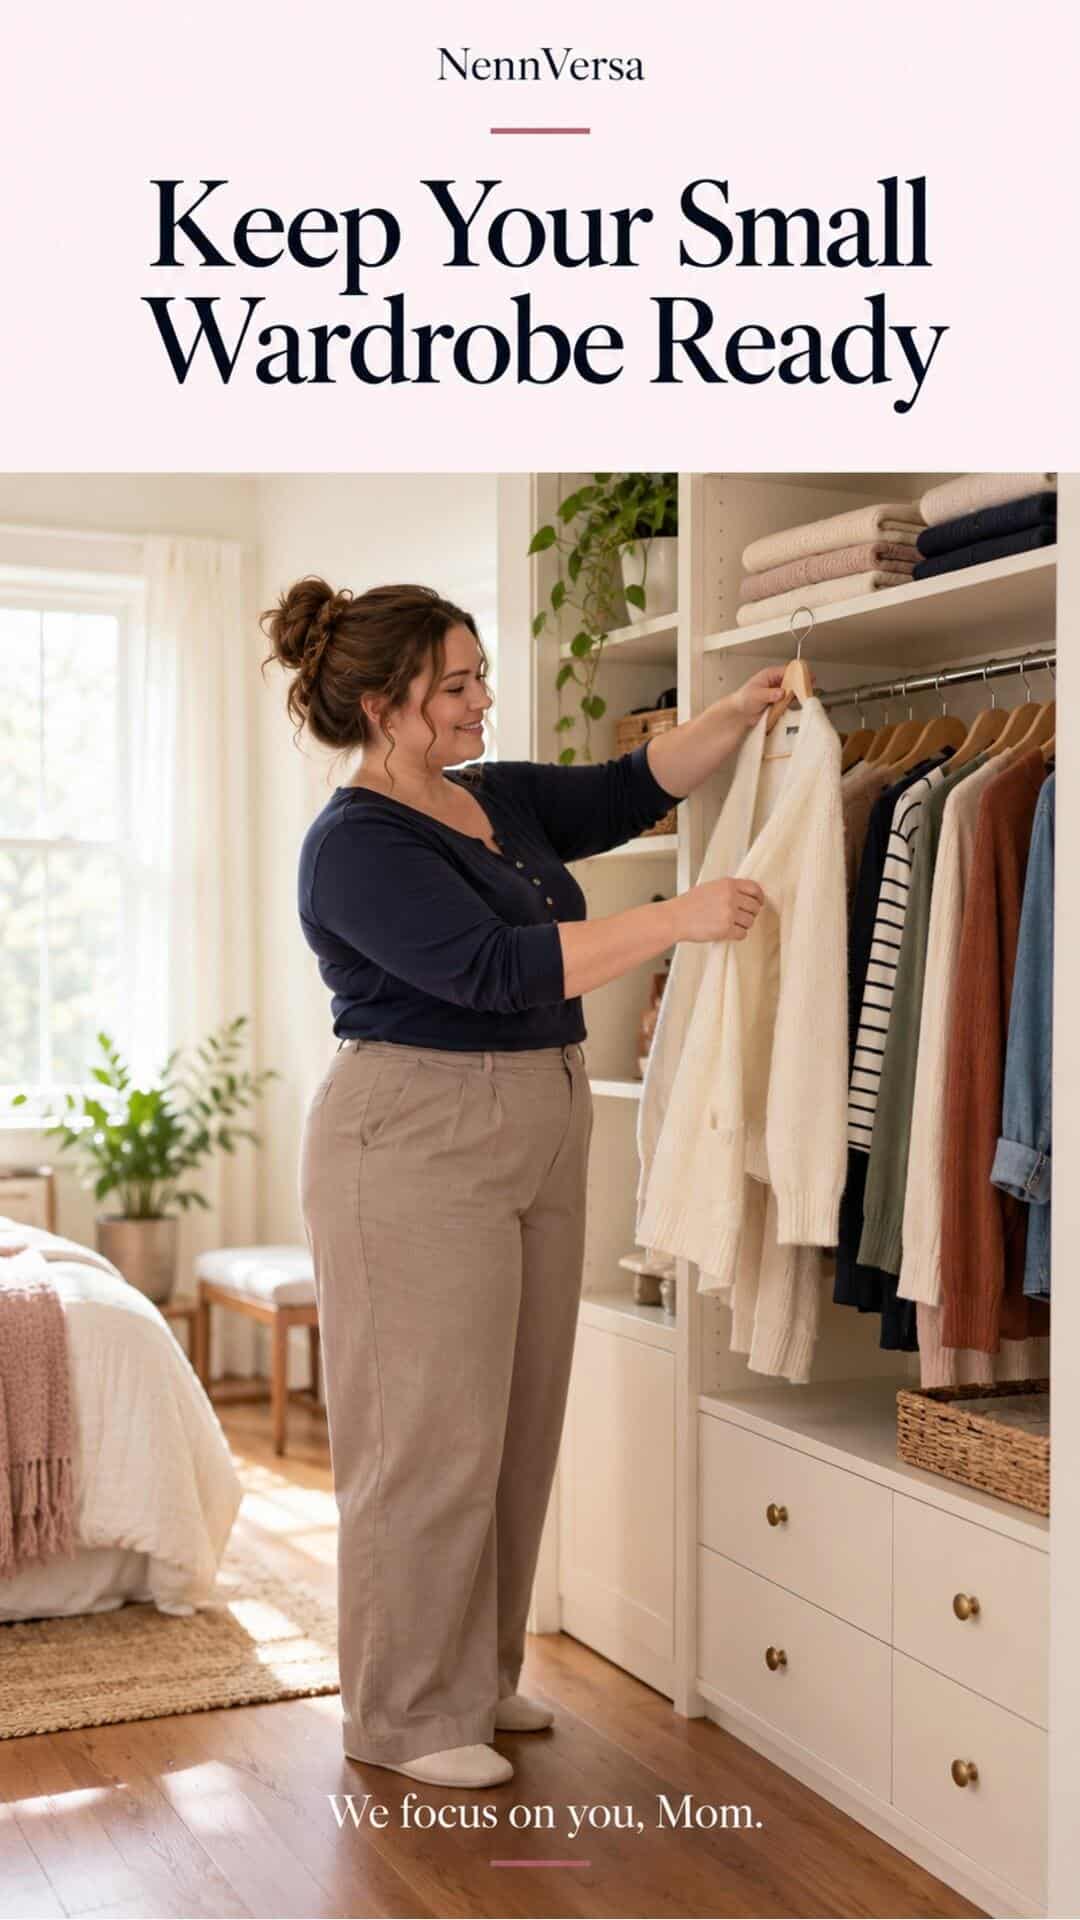
A full closet can still leave you standing in a towel, wondering what
to wear.
One shirt fits but makes feeding awkward. Another opens easily but
needs a bra that is somewhere in the laundry. Your comfortable trousers
are hidden behind clothes you have not reached for in months. By the
time you find an outfit, the small window you had to get dressed has
disappeared.
Postpartum closet organization can help with that very specific
problem. The goal is to put usable outfits within reach, with the layers
and underwear they need nearby.
You do not have to sort every item you own in one afternoon. You do
not need a matching set of storage boxes or a permanent capsule
wardrobe. Start with the next few days of getting dressed.
At NennVersa, we believe your wardrobe should make room for the
person you are today: your body, your preferences, your work, your rest,
and the way you feed your baby.
Choose a small place to
begin
Pick one manageable space: a short section of hanging rail, a drawer,
or a shelf. This will become your easy-to-reach selection of clothes you
can wear now.
Leave the rest of the closet alone for the moment. Pulling everything
onto the bed can create a much bigger task than you have time or energy
to finish.
Choose a few pieces you already reach for. Include underwear, a
comfortable bottom, two or three tops, and any layer you need for the
current weather. If you often wear dresses, include one that works for
your feeding setup.
You are building a useful starting point. The rest can follow in
smaller sessions.
Sort by present usefulness
Traditional closet advice often starts with color, season, or garment
type. Those categories can help later. First, decide whether each item
supports getting dressed now.
Use four temporary groups:
| Group | What belongs here | Where it goes |
|---|---|---|
| Ready to wear | Fits comfortably and works for the intended activity and feeding needs |
Your easiest-to-reach space |
| Needs a partner | Works with a particular bra, tank, cardigan, or bottom | Beside that partner, or with a note identifying it |
| Needs attention | Requires washing, mending, or another realistic fix | A small, separate action basket |
| Keep for later | You want to keep it, but it is not useful for your current routine |
A labeled shelf, bin, or less accessible section |
“Keep for later” does not need a deadline. You do not have to promise
to fit something by a particular month, or decide how you will feel
about it permanently.
If you want to donate an item, you can. If you are unsure, postponing
that decision is a valid option. A functional everyday wardrobe does not
require making every emotional clothing decision at once.
Check fit
while doing the things you actually do
Standing in front of a mirror gives you only part of the picture.
Try sitting, walking, reaching, and bending in a way that feels
comfortable for you. Notice whether the waistband digs in when you sit,
whether the top pulls across your chest, or whether a seam sits against
an area that is sensitive.
An item can technically fasten and still feel wrong for a long day.
Put the most comfortable choices in the easiest place to reach.
Check how the complete outfit behaves, too. A top that feels fine
alone may become tight over a different bra. A cardigan that looks ideal
standing up may bunch beneath your back when you sit to feed.
This is a practical clothing assessment. There is no need to judge
your body for the result.
Give feeding access its
own category
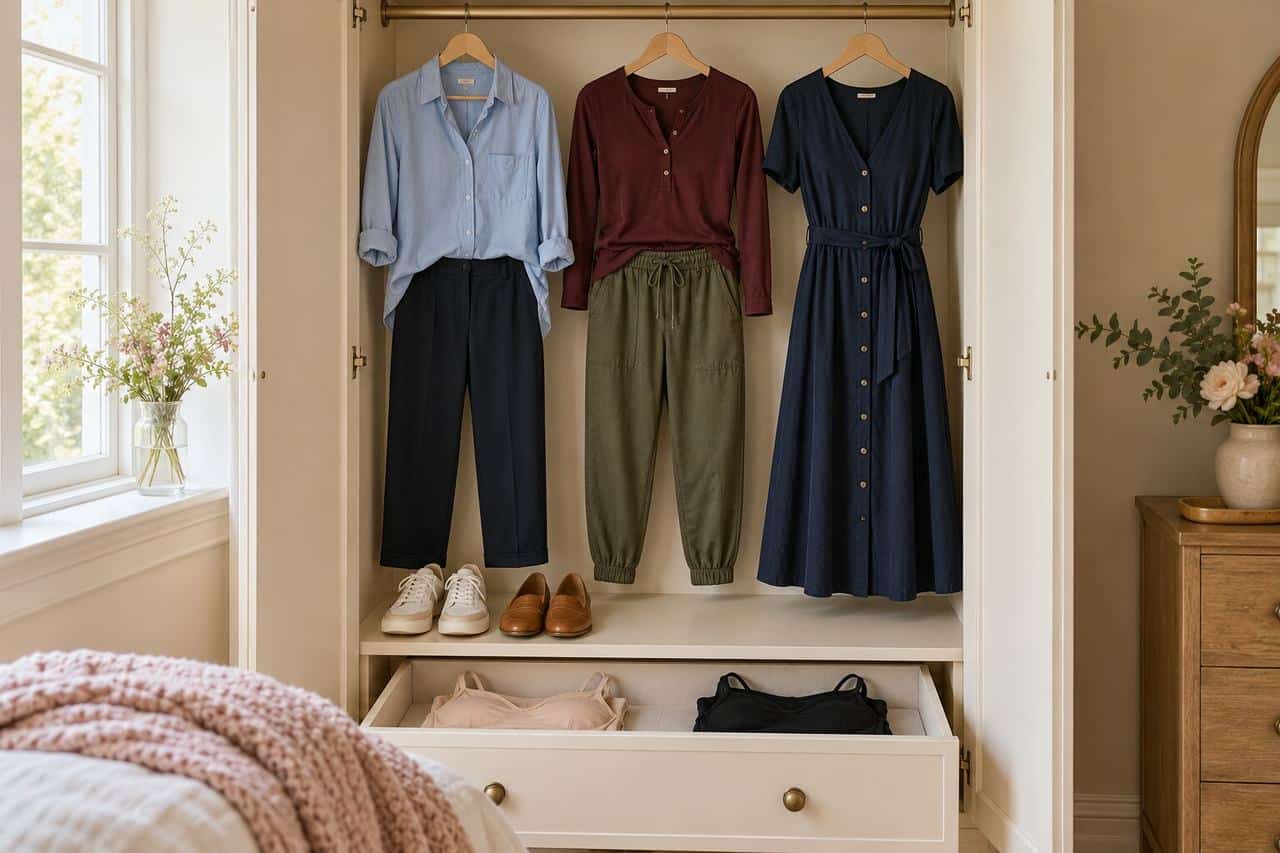
Two tops can look similar on a hanger and work very differently
during a feed. Sorting by access makes that difference easier to
see.
Useful categories include:
- Opens at the front: buttons, zips, snaps, or a
genuine wrap opening that reaches where you need it. - Lifts from the hem: suitable tops that can move up
comfortably, sometimes worn over a tank if you prefer more torso
coverage. - Moves aside or down: necklines or panels that allow
comfortable access without excessive stretching. - Has dedicated nursing openings: overlaps, side
openings, or other features you have tested.
You do not need labels for every category. A simple left-to-right
arrangement can be enough. If you do use labels, choose words that make
sense to you, such as “quick front access” or “works with black
tank.”
Avoid assuming that any particular category automatically works for
pumping. A pump may need more space than direct nursing, and the bra
underneath may determine whether the outfit is usable.
Separate
nursing access from pumping compatibility
For direct nursing, consider whether you can move the fabric aside
comfortably and keep it from repeatedly falling into the feeding
area.
For a conventional pump setup, consider access for the flanges, the
bra you use, tubing if applicable, and whether you can sit comfortably
while everything is positioned.
For a wearable pump, consider the space available inside your bra and
clothing, access to insert and remove the cups, and the fit requirements
in your pump’s instructions. A loose outer shirt cannot compensate for
an unsuitable bra or incorrect pump fit.
If you nurse and pump, some clothes may work for both and some for
only one. Give those differences a visible home.
You might place work pumping outfits together and keep your easiest
home nursing tops in a drawer. That arrangement can be more useful than
organizing every shirt strictly by color.
Keep the right
underlayers near the outfit
Sometimes the missing piece is a clean bra or tank, not another
shirt.
Create a small area for the underwear and layers you currently use.
Separate daily favorites from items that are uncomfortable, worn out, or
suitable only for occasional use.
If a particular top requires a particular tank, keep them beside each
other or record the pairing. You can hang a cardigan over its intended
top, place folded pieces together, or take a quick photo of the outfit
on your phone.

Avoid complicated pairing systems that make laundry harder. The
purpose is to remember a useful combination, not to maintain a
display.
When you put laundry away, return the underlayers to the same place.
A consistent home helps you see what is clean before getting
dressed.
Build a few complete outfits
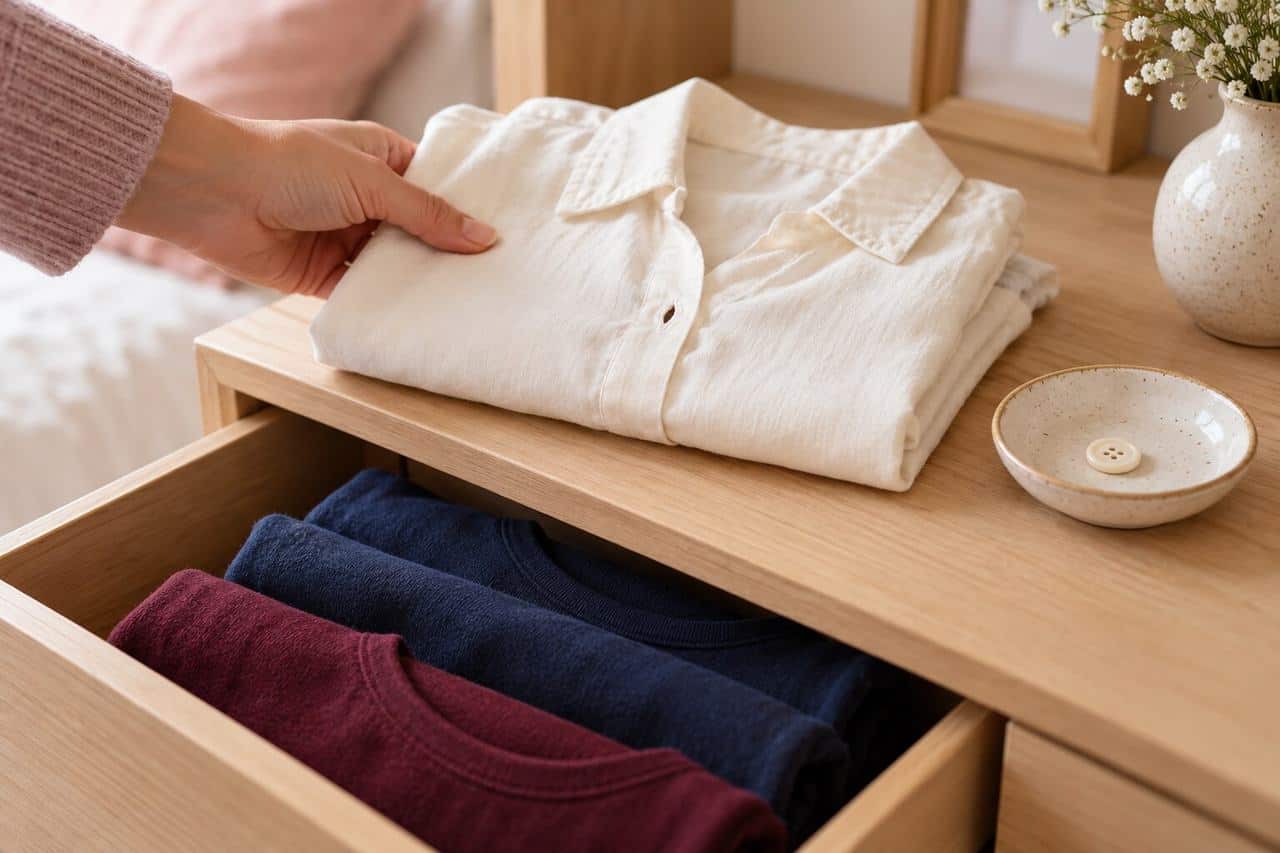
Once you have identified usable pieces, assemble several combinations
for the week you actually expect to have.
That might mean a home outfit, an errands outfit, and something
suitable for work or an appointment. Another mom may need several work
outfits and one comfortable weekend option.
Include the details that tend to cause last-minute problems: the bra,
the layer, the shoes, and any clothing change needed for pumping.
Try each complete outfit sitting down. Move the relevant opening,
check the underlayer, and notice whether anything needs repeated
adjustment. You can do this without your baby in your arms.
Take a photo if that would help you remember the combination. A small
phone album called “Clothes that work” can save a surprising amount of
decision-making on busy mornings.
You can repeat an outfit formula as often as you like. A comfortable
bottom plus a front-opening shirt and a favorite cardigan still leaves
room for color, jewelry, or another detail that feels like you.
Give everyday clothes the
best space
Put the items you use most where you can reach them without moving
several other things.
For hanging clothes, leave enough room to see and remove each piece.
For folded clothes, try a shallow stack or an upright arrangement if
your drawer allows it. If careful folding makes putting laundry away
harder, use a simpler approach.
Occasion wear, out-of-season pieces, and clothing you are keeping for
later can occupy less convenient spaces.
Your everyday section does not have to contain every item you might
wear. It needs to contain enough suitable options that dressing stops
feeling like a search.
Adapt the system to the
space you have
A shared closet
Claim a clearly defined section for your current outfits. A shelf
divider, a different hanger color, or a small gap may be enough to mark
it.
Put your most-used bras and layers in a nearby drawer or basket.
Discuss where shared overflow belongs so it does not gradually cover the
clothes you need daily.
If someone helps put laundry away, show them the arrangement. “These
tops go on the left; these tanks go in this drawer” is easier to
maintain than an intricate system only one person understands.
A wardrobe with very
little hanging space
Reserve the rail for clothes that benefit most from hanging or
complete outfits you want to see at a glance. Fold soft tops and
comfortable bottoms on a shelf or in a drawer.
A small bin can hold current feeding layers. Check its dimensions
before buying it, especially if the shelf is shallow or the wardrobe
doors swing inward.
You do not need extra furniture to begin. Often the first improvement
is moving occasional clothes away from the easiest shelf.
Clothes stored in several
rooms
Give each location a clear job. Your main closet can hold daytime
outfits, a bedroom drawer can hold nightwear and feeding layers, and a
work drawer can hold an outfit backup.
Avoid splitting the components of your usual outfit across several
rooms if you can help it. Keeping a bra, top, and bottom near one
another reduces the number of searches required.
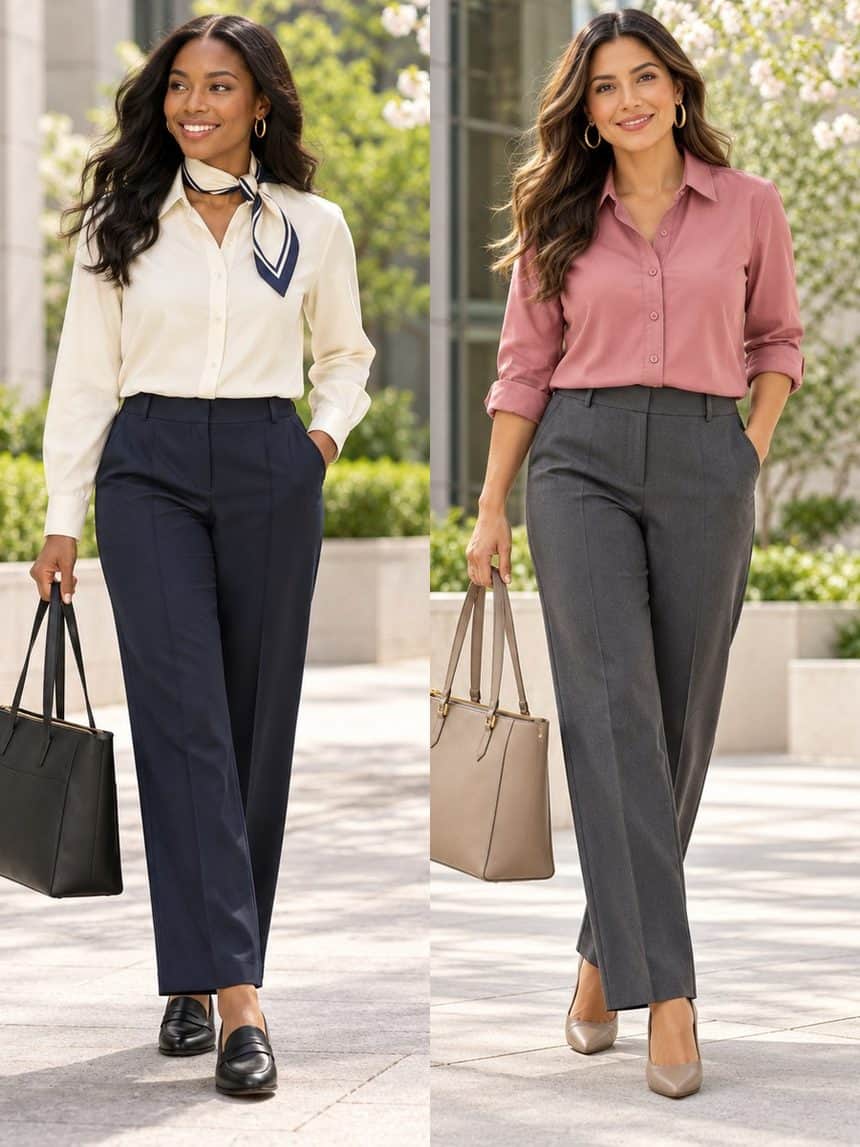
From the capsules
The Back to Work Capsule
Two hundred workday outfits, every top opening for the eleven o'clock pump. $27 once, yours to keep.
Make laundry part of the
organization
A wardrobe system has to work on laundry day as well as the day you
arrange it.
Choose an obvious place for worn clothing. Keep it separate from
clean backups and from items waiting for a small repair.
If your best feeding top is always in the wash, notice the reason
before buying more. You may need another useful top, a more realistic
laundry routine, or a second outfit formula so one item is not doing all
the work.
Make putting clothes away easy enough to repeat. A broad drawer
category such as “everyday tanks” may be more useful than sorting every
tank by neckline and color.
Ask anyone sharing the task to return clothes to their usual homes.
Help is more useful when it includes finishing the process, rather than
leaving a clean pile for you to sort.
Three realistic closet
setups
Mostly at home, with short
outings
Keep comfortable tops, bottoms, and feeding layers in one accessible
area. Add one complete going-out outfit that can be put on without
searching for a matching layer.
Place a clean spare top where you usually get dressed or feed. The
outfit emergency kit can handle clothes needed away from home.
Pumping during a workday
Group outfits you have tested with your actual bra and pump setup.
Keep any work-only layer beside them, and choose a replacement top that
works with several of your usual bottoms.
If your work clothes require special laundering, account for that
when choosing how many outfits to keep ready. A wardrobe plan should fit
the way your clothes are cared for.
Nursing and pumping on
different days
Use two small groups, or a simple note on outfit photos, to identify
which combinations work for each activity. Place clothes that work for
both between the groups.
You can change the arrangement when your feeding routine changes. The
labels serve you; you do not need to keep using a category that has
stopped being useful.
Buy
organizers only after identifying the problem
Before adding a product to your cart, finish this sentence: “This
will make it easier to ______.”
Useful answers might include seeing your bras, preventing folded tops
from falling sideways, or keeping a later-use clothing group
together.
Measure the space and check the product dimensions. Consider whether
the organizer is easy to clean and whether you can remove clothes
without lifting the entire container.
A drawer divider may help if small items become mixed together. A
labeled storage bag may help if you need to move occasional clothes out
of the daily section. Neither is essential if your current drawer or
shelf already works.
Try the arrangement with containers you own first. Living with it
briefly can show you what a purchase actually needs to do.
Keep the reset small
When the closet starts feeling difficult again, check three things:
what fits comfortably now, what feeding access you need now, and what is
repeatedly unavailable when you want it.
Move unsuitable items out of the everyday section. Replace a missing
layer or update an outfit pairing. You do not have to reorganize
everything.
A change in body shape, weather, work, or feeding routine is a reason
to adjust the system, not evidence that you organized it badly.
Questions about a
postpartum closet
Should I get rid of
clothes that do not fit?
Only if you want to. Keeping them elsewhere can make daily dressing
easier without forcing a permanent decision. Use neutral labels such as
“stored favorites” or “review later” if size-based labels feel
unhelpful.
How many nursing outfits do
I need?
There is no universal number. Your laundry access, how often you
change, time away from home, and preferred feeding setup all affect what
is useful. Start by observing where you run out of wearable options.
What if I mostly wear
ordinary clothes?
Organize them by the access and comfort they provide. A dedicated
nursing label is not a requirement. Test the complete outfit, including
the bra and any pumping equipment you use.
What if I only have ten
minutes?
Choose one complete outfit for tomorrow and put its pieces together.
Move two or three current favorites into the easiest space to reach.
Stop there if you need to.
The Nursing Mama Fashion Commandments
Twelve rules I wish someone had told me postpartum. Print them. Screenshot them. Live by them.
- Nursing bra always. Regular bras become instruments of pain the day letdown surprises you.
- Nursing pads on your body + a spare pair in your bag. Every single time you leave the house. No exceptions.
- Extra top in your bag — for YOU, not the baby. Because leaks, spit-up, and coffee-spills don’t care about your outfit plan.
- If it takes more than 5 minutes to figure out how to nurse or pump in it, it’s not the right outfit today. Feeding access is comfort. Comfort is not optional.
- Belt under the bust (empire) or below the belly with drape — never at the belly button. Your postpartum body deserves flattery, not compression.
- Comfortable waistband is non-negotiable. Elastic, wrap, or pull-on. Zippers are a Sunday-only luxury for now.
- Dark tones, prints, or textures — not thin light solids. Because letdown marks are real and you deserve clothes that don’t advertise them.
- Machine-washable everything. Dry-clean is not real-mama fashion. If it can’t survive a spit-up rinse, it’s not in rotation.
- Cross-body bag only. Hands stay free for the carrier, the toddler, the coffee, the door, the meltdown.
- Comfortable shoes always. You’re carrying a car seat and a diaper bag. This is not the season for a heel you can’t run in.
- Get dressed BEFORE the kids see you if you can. It changes the whole day — for them and for you.
- One accessory — earrings, a lip color, a scarf — counts as “put together.” That’s the whole game. You get to feel like yourself again.
Make getting dressed a
little more yours
Begin with a few clothes that feel comfortable and work for your day.
Give them space, keep their supporting layers nearby, and let everything
else wait its turn.
Your closet can acknowledge that feeding access matters while still
making room for your style. The colors, shapes, and details you enjoy
belong in the plan, too.
You deserve to open the wardrobe and see options for the life you are
living today.