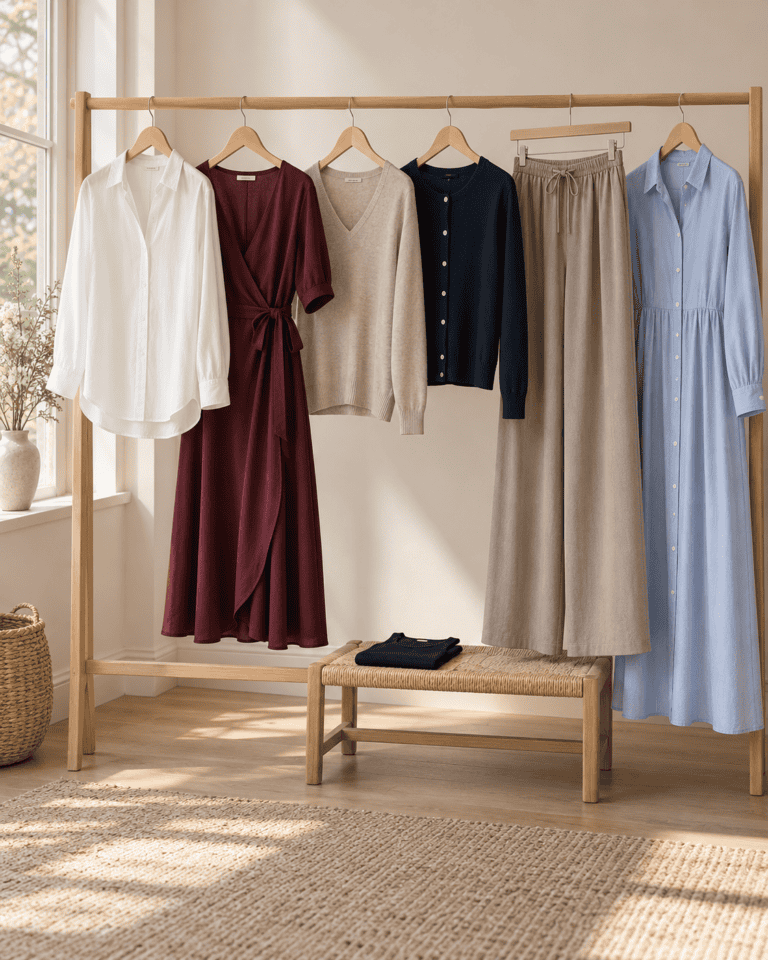
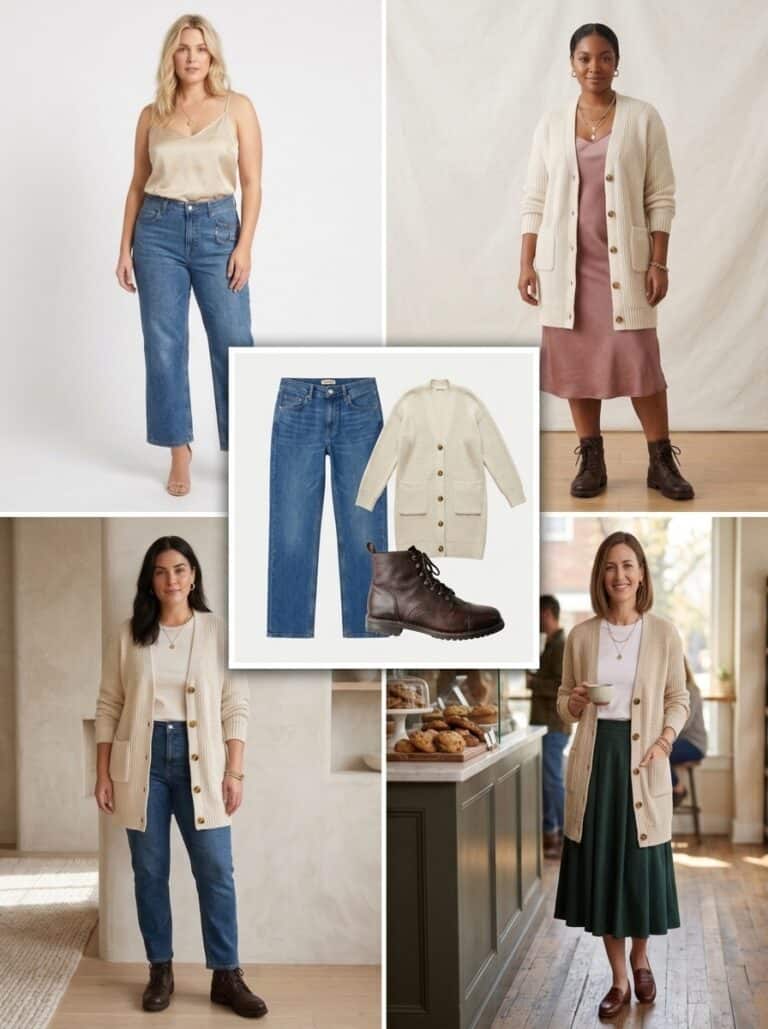
A wearable breast pump may fit inside a bra, but that does not mean it fits comfortably under every outfit. A top can look roomy until the cups are in place. A dress can cover the pump beautifully and still make removal awkward. A bra that feels supportive on its own can behave differently with equipment inside it.
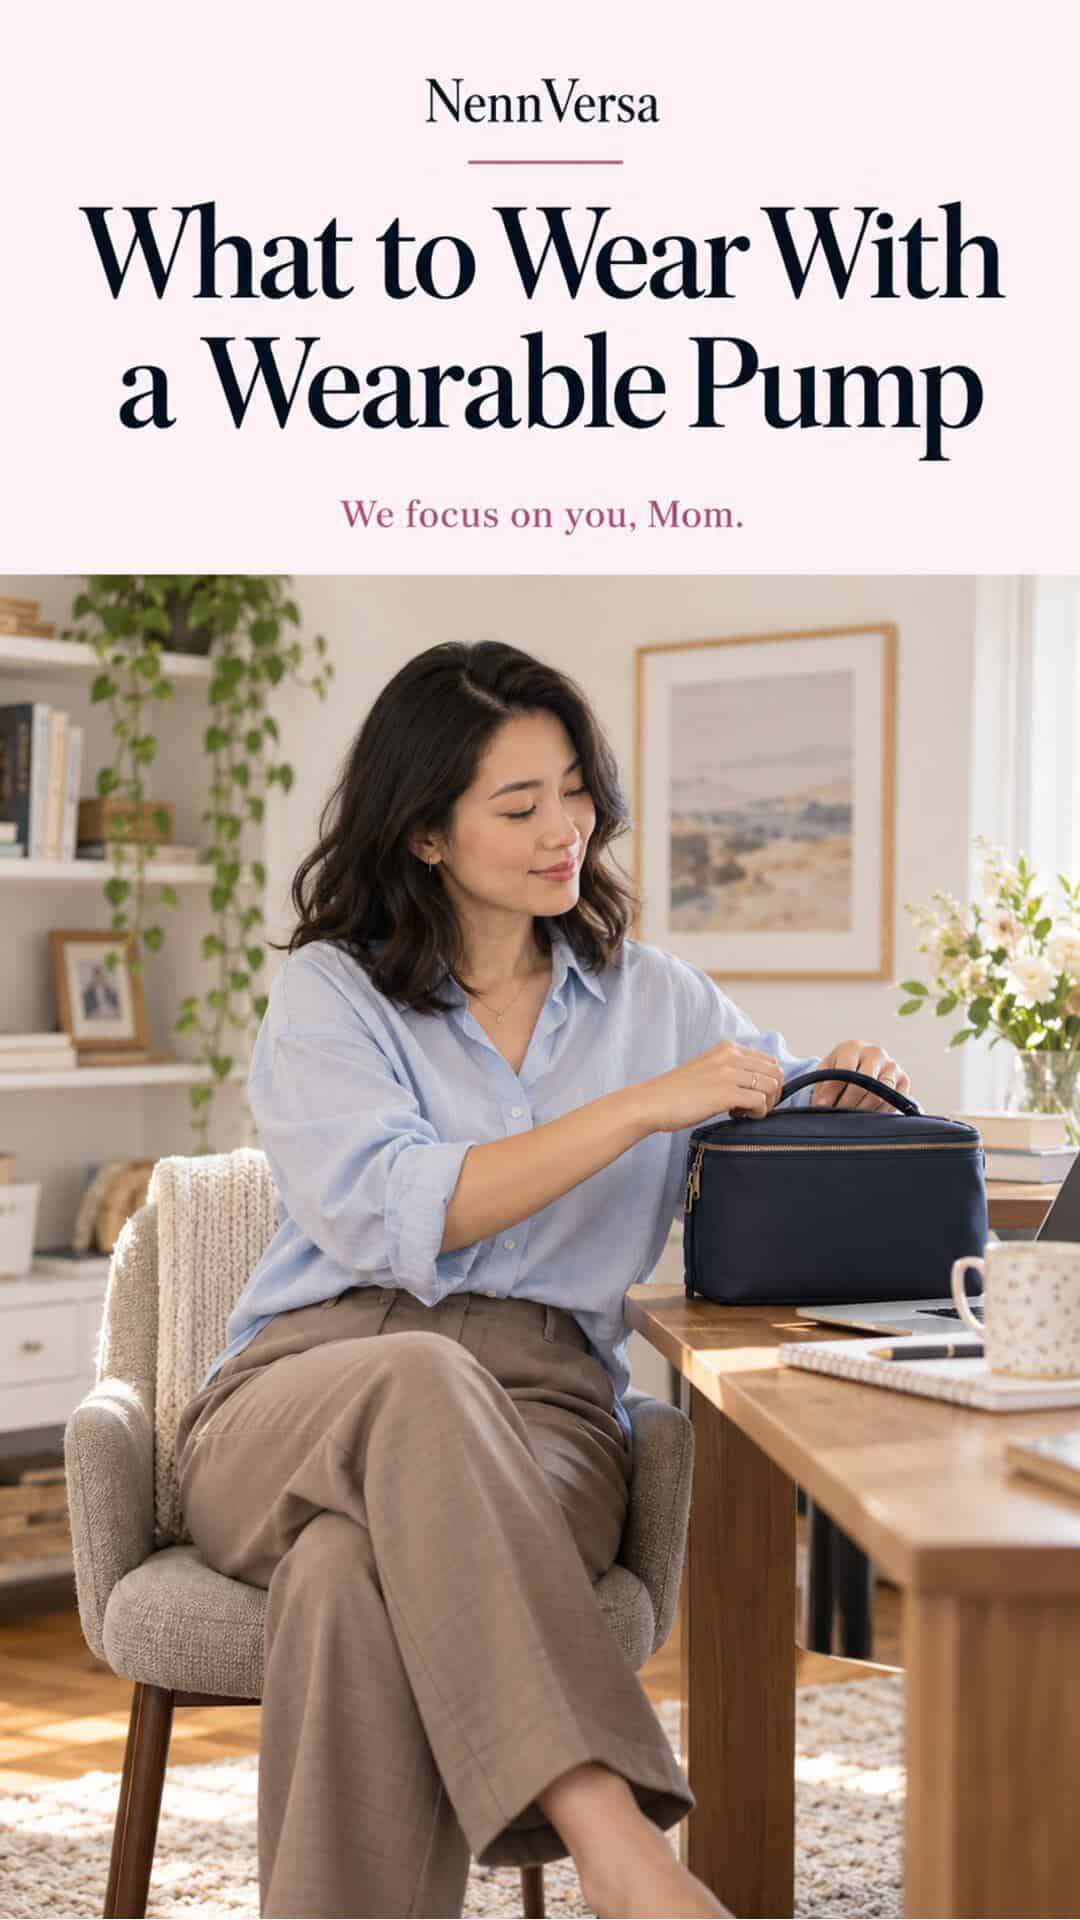
The goal is an outfit that lets you position, check, use, and remove your particular pump comfortably. Whether the outline is visible is a personal preference, not a measure of how successfully you are pumping.
This guide focuses on clothing. Your pump’s instructions and appropriate professional support remain the starting points for equipment positioning and fit.
Check what “wearable” means for your equipment
Some systems have a motor and milk container together inside the bra. Others use in-bra collection cups connected by tubing to a separate motor. The clothing needs are different: one setup may need room for a larger unit; another may also need a practical place for the motor and a route for tubing.
Before choosing an outfit, identify the parts that sit inside the bra, the parts outside it, and the controls you need to reach. Read the instructions for your exact model, including positioning and movement restrictions.
The FDA’s pump-use guidance directs users to their instruction manual and emphasizes comfortable shield positioning. Clothing should make those checks possible; it cannot establish correct pump fit by itself.
Start with the bra, then add the outer garment
Follow the pump manufacturer’s guidance about bra support and adjustability. The aim is not simply to choose the tightest bra or the stretchiest one. You need the arrangement specified for your equipment, without forcing the cups into an unsuitable space.
If your pump requires a particular bra arrangement or an approved adjuster, include that in the trial. Ask the manufacturer about any unclear requirement before buying another underlayer. A photo of equipment inside a bra does not establish that your combination is suitable.
Try the setup with the bra you expect to wear, rather than using a different bra for the home trial and discovering a mismatch later. If you use an approved adjuster, include it in the outfit check and follow its instructions. Do not stretch or alter a bra beyond its intended construction.
Check three separate types of room
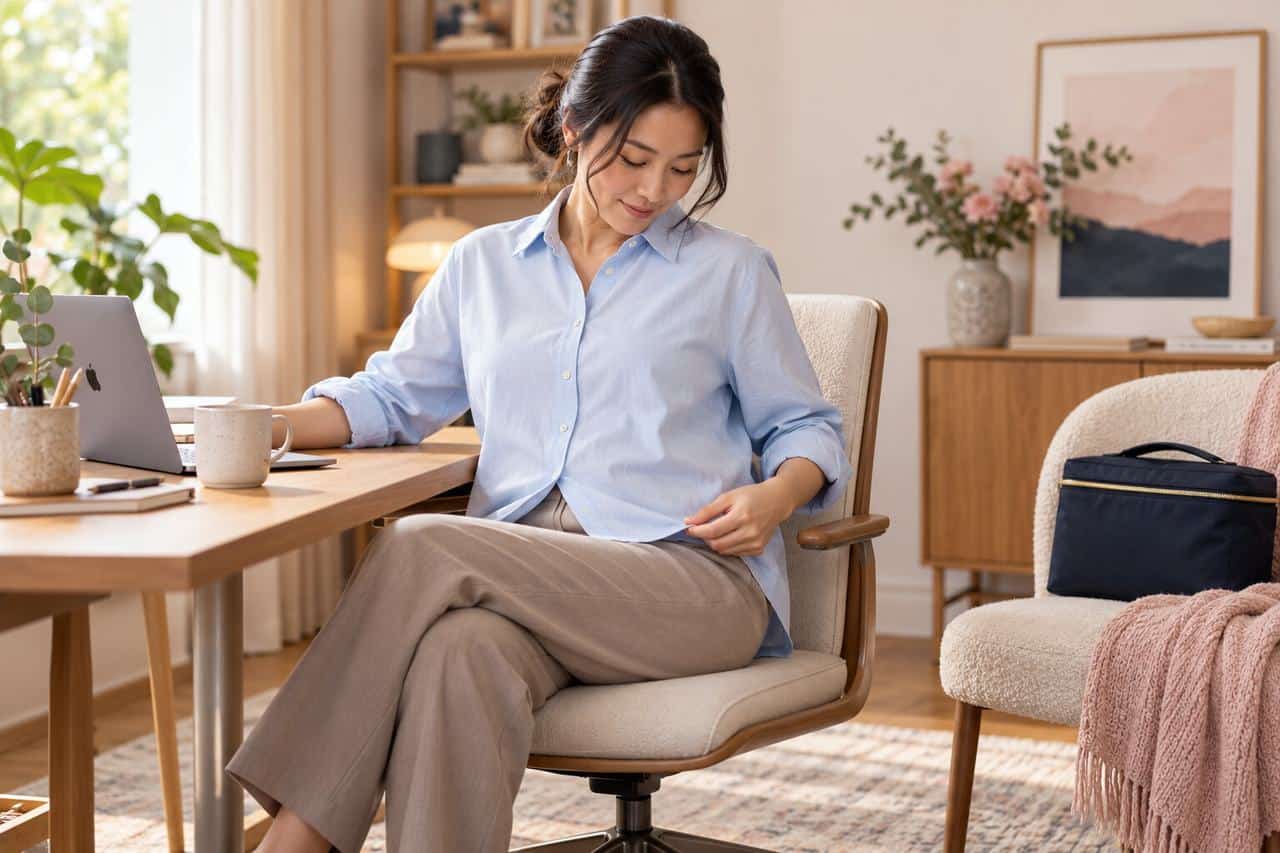
“Loose enough” is not one measurement. You need room to put the equipment in, room while it is in place, and room to remove it according to the instructions.
- Entry room: can the garment open or lift sufficiently for placement and visual checks?
- Wearing room: does the fabric sit comfortably without pulling the equipment or creating unwanted pressure?
- Exit room: can you remove the collection cups or units without wrestling with the neckline or hem?
Try the full sequence while seated. A neckline that stretches over an empty cup once may be a poor route for removing the assembled device later. Access should not depend on pulling hard, rushing, or keeping the equipment hidden at the expense of handling it properly.
Compare four practical garment options
| Garment | Possible advantage | Try-on question |
|---|---|---|
| Roomy button-front shirt | Front opening provides a direct route to the bra. | Does the shirt close without strain when the pump is positioned? |
| Liftable knit top | Can provide access from the hem. | Can you lift and restore it without catching the equipment? |
| Purpose-made access top | May offer separate openings. | Are those openings large and well-positioned enough for this pump? |
| Button-front or access dress | Provides a one-piece outfit. | Does the lining open too, and can you remove the equipment comfortably? |
A true wrap may also work, but check the overlap and fastening with the pump in place. A decorative wrap front sewn closed is a different garment. Product descriptions are a starting point; the actual opening decides how you can use it.
Look at the fabric when the pump is in place
A structured blouse may bridge over the cups, pull between buttons, or sit differently at the shoulders. A thin knit may show the outline more clearly. A fabric with stretch can still pull tightly when its available room is used up.
Check the front, sides, and hem in a mirror. Then look away from the mirror and notice how the outfit feels. Does the neckline drag? Do the armholes feel different? Does the hem ride up? Can you sit without the lower edge of the top pulling across the equipment?

If you prefer less visible contour, experiment with a roomier cut, a print you like, or an open layer you already own. These are styling options, not guarantees of concealment. You do not owe anyone an invisible pumping setup.
Try three outfit formulas using what you own
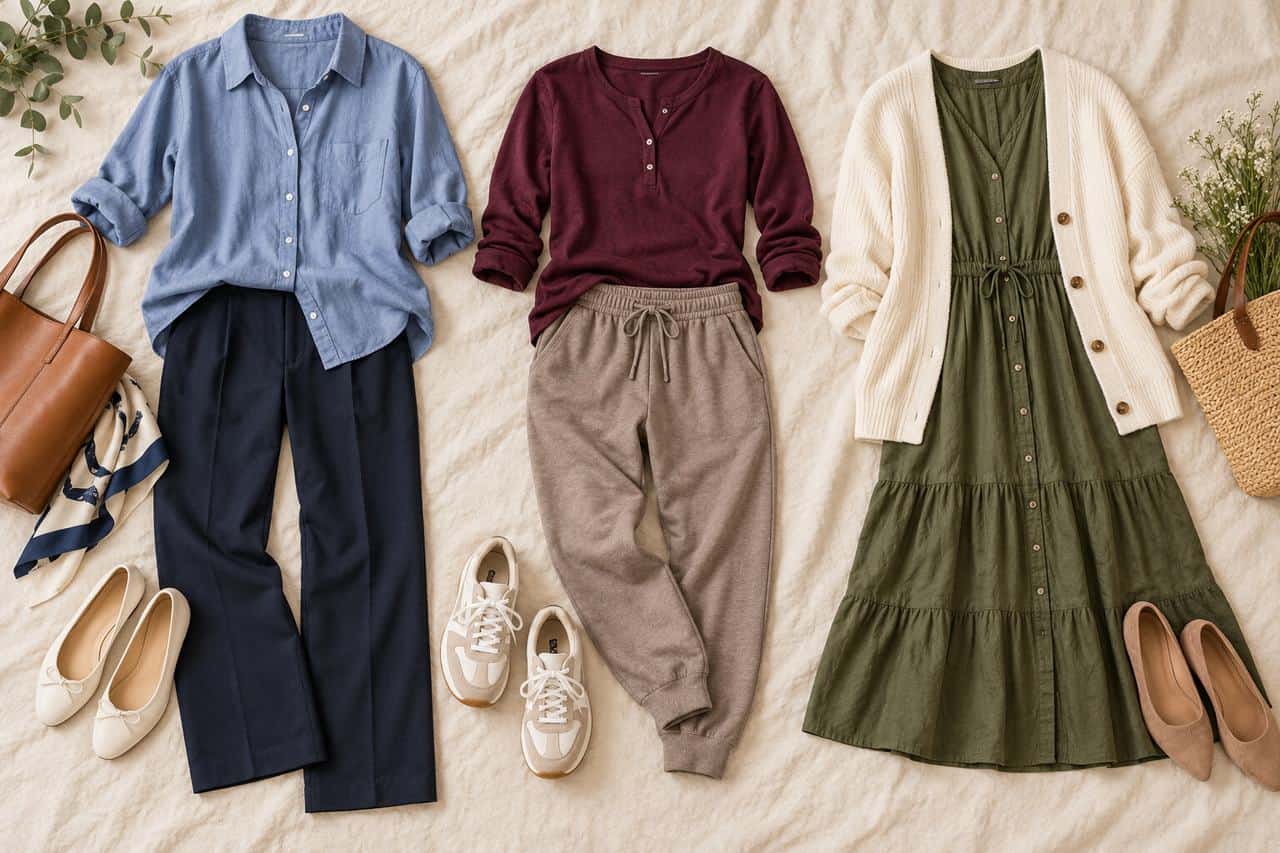
For an ordinary workday: a roomy button-front shirt, comfortable trousers, and an optional open cardigan. The shirt provides access; the cardigan adds a removable layer. Check the complete outfit with your work bag straps and your workplace requirements.
For home or a casual outing: a liftable top, soft trousers or joggers, and practical shoes if you are leaving. Test how the top gathers during placement. An extra camisole may add coverage you like, but it may also add another opening to manage.
For a more dressed-up setting: a functioning button-front dress or a dress with appropriately placed access openings. Try its underlayer, waist seam, and lining together. A dress that requires substantial undressing is unlikely to be your easiest choice for that occasion.
None of these formulas authorizes an activity while pumping. Follow the equipment instructions and choose a safe setting where you can pay attention to the pump.
Check movement without treating wearability as unlimited freedom
Do the clothing movements your normal setting requires: sit upright, stand, and reach gently within the device’s permitted use. Read the manufacturer’s directions before assuming you can bend, recline, exercise, or carry out a particular task.
For example, Medela’s Solo Hands-free information explains that its collection cup is not intended for complete forward leaning or exercise because milk can spill through the pouring opening. Other models have their own limits.
You are allowed to sit down to pump even when your equipment is hands-free. A device that frees your hands does not create an obligation to keep working through a session.
From the capsules
The Back to Work Capsule
Two hundred workday outfits, every top opening for the eleven o'clock pump. $27 once, yours to keep.
Plan removal and the return to your outfit
Before your first away-from-home use, practice where you will place the equipment and how you will restore your clothing. An outfit plan is incomplete if it ends with “the cups fit under my shirt.”
Check whether bra padding shifts when the equipment comes out. If you use removable pads, decide whether that design is convenient for you. Refasten the shirt or dress and check that the garment feels comfortable again. Include any approved accessories the setup requires in your packing routine.
Keep a useful clothing spare if that would make your day easier. It should work with the same underlayer and bottoms, rather than being the least-worn top left in your drawer.
Keep clothing storage separate from pump care
A washable pouch is useful for a spare top, but it is not automatically an appropriate clean-pump storage system. Follow the device’s instructions and current guidance for cleaning and storage. The CDC recommends cleaning milk-contact pump parts after use; plan for that work as well as the clothes.
When evaluating a new outfit, include care and drying requirements. If the top needs special cleaning after every ordinary mishap, it may be less useful than a simpler garment that fits your household routine.
Common questions
Should I size up my tops for a wearable pump?
Sometimes a different size helps, but cut and opening construction matter too. Compare actual garment measurements and try-on access. A larger size can create shoulder or sleeve problems without fixing a restrictive opening.
Can I wear a fitted dress?
Only your full outfit trial can establish whether there is adequate room and access for your setup. Check the lining and removal route. Choose another dress if the fit depends on forcing the equipment into place.
What if the pump is still visible?
You can change the styling if you want, or leave it visible. Do not sacrifice comfortable positioning simply to create a smoother outline.
The Nursing Mama Fashion Commandments
Twelve rules I wish someone had told me postpartum. Print them. Screenshot them. Live by them.
- Nursing bra always. Regular bras become instruments of pain the day letdown surprises you.
- Nursing pads on your body + a spare pair in your bag. Every single time you leave the house. No exceptions.
- Extra top in your bag — for YOU, not the baby. Because leaks, spit-up, and coffee-spills don’t care about your outfit plan.
- If it takes more than 5 minutes to figure out how to nurse or pump in it, it’s not the right outfit today. Feeding access is comfort. Comfort is not optional.
- Belt under the bust (empire) or below the belly with drape — never at the belly button. Your postpartum body deserves flattery, not compression.
- Comfortable waistband is non-negotiable. Elastic, wrap, or pull-on. Zippers are a Sunday-only luxury for now.
- Dark tones, prints, or textures — not thin light solids. Because letdown marks are real and you deserve clothes that don’t advertise them.
- Machine-washable everything. Dry-clean is not real-mama fashion. If it can’t survive a spit-up rinse, it’s not in rotation.
- Cross-body bag only. Hands stay free for the carrier, the toddler, the coffee, the door, the meltdown.
- Comfortable shoes always. You’re carrying a car seat and a diaper bag. This is not the season for a heel you can’t run in.
- Get dressed BEFORE the kids see you if you can. It changes the whole day — for them and for you.
- One accessory — earrings, a lip color, a scarf — counts as “put together.” That’s the whole game. You get to feel like yourself again.
Prepare one reliable combination
Start with your actual bra and pump, then test one top and one bottom. Record what works before adding more outfits. NennVersa’s My Nursing Outfit Remix includes separate pumping checks and an editable try-on plan.
When you want several wearable combinations from the pieces you already have, The NennVersa Atelier can be your next wardrobe-building step. Your outfit should make the practical parts easier and still feel like something you chose for yourself.